1. Dash view
The following widgets are available from this place:
- to do,
- scheduled meetings,
- my meetings,
- submissions
- my notes,
- awarded collaborators,
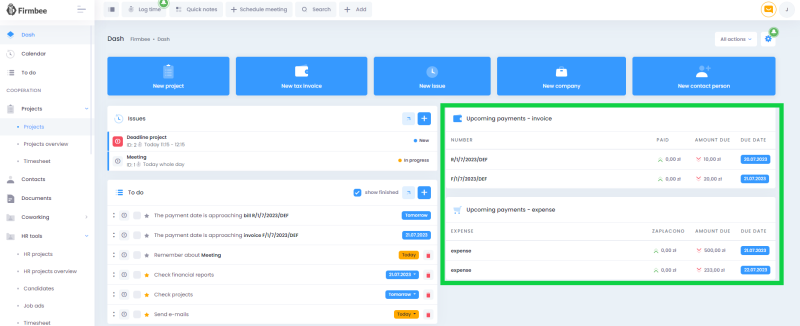
- Upcoming payments-invoices,
- Upcoming payments- expenses,
- favorite projects,
- favorite HR profiles,
- favorite contacts,
- favorite candidates,
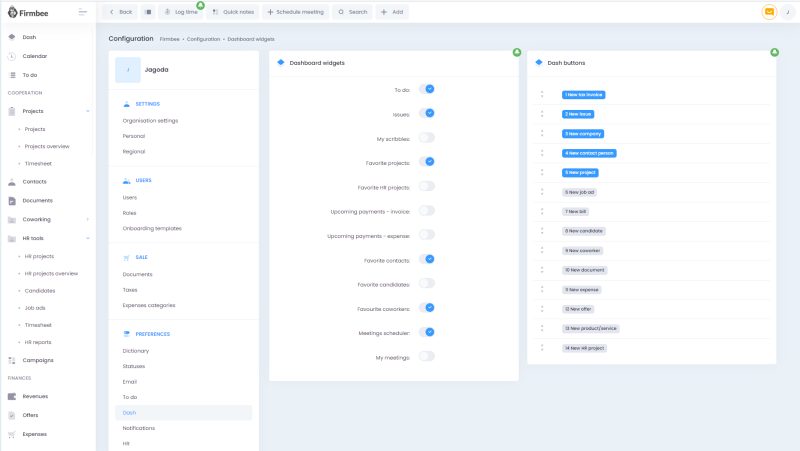
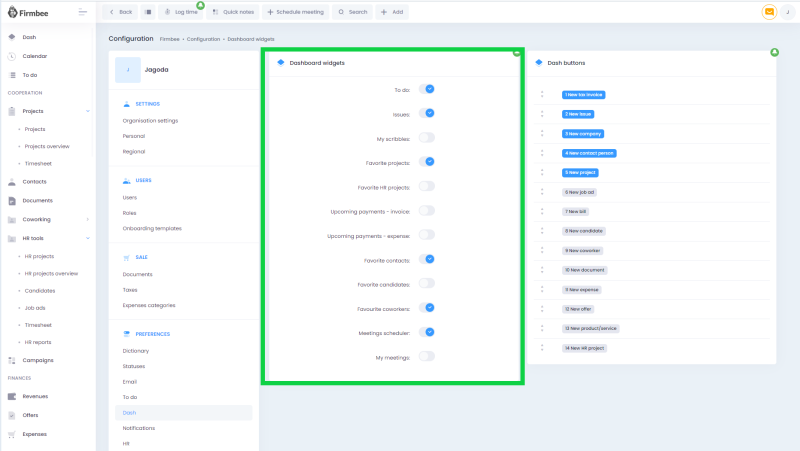
The availability of widgets depends on the user’s privileges. The visibility of widgets can be changed in the Organization Settings/Preferences/Desktop/Desktop Widgets tab. Simply toggle the switch to active/inactive.
Step 1.
 Step 2.
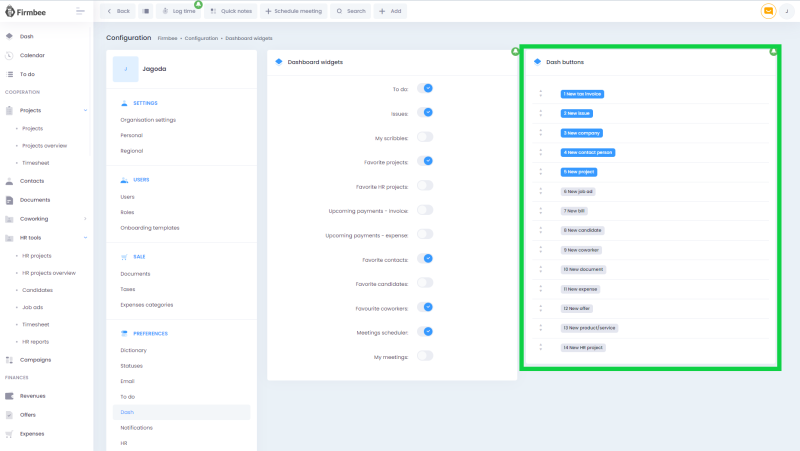
Available buttons
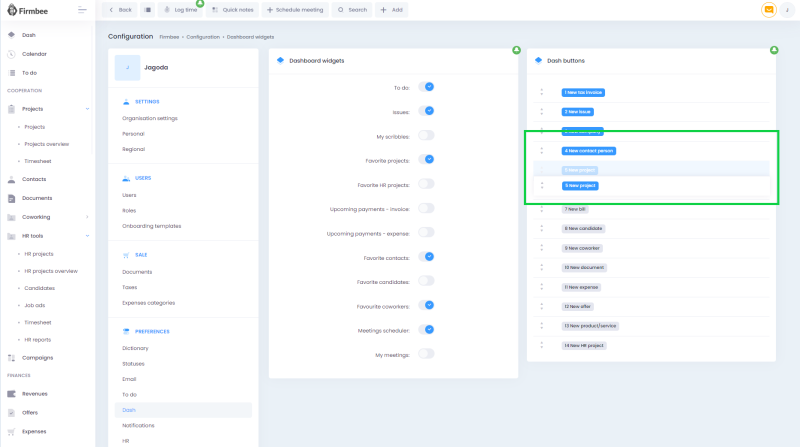
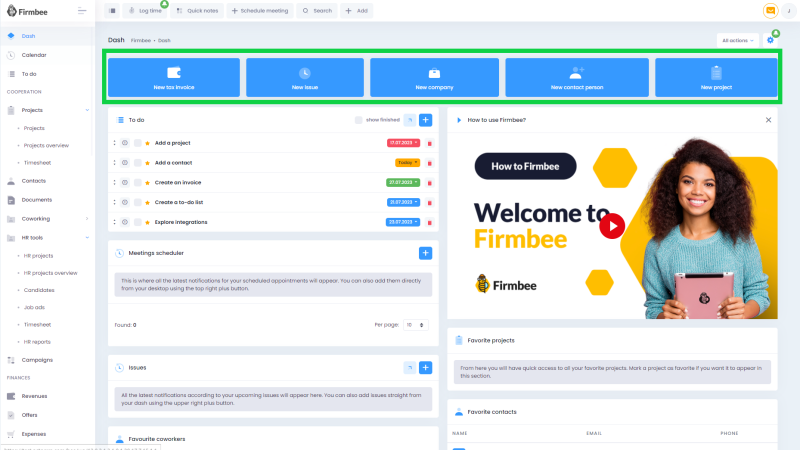 The user can decide which actions he wants to display in the foreground and which he wants to hide under the other buttons. In the Dashboard configuration in the Dashboard buttons section click (enable) or unclick (disable) the name of the button. The user can also change the order by using the drag&drop mechanism.
Step 1.
 Step 2.
2.Description of example widgets
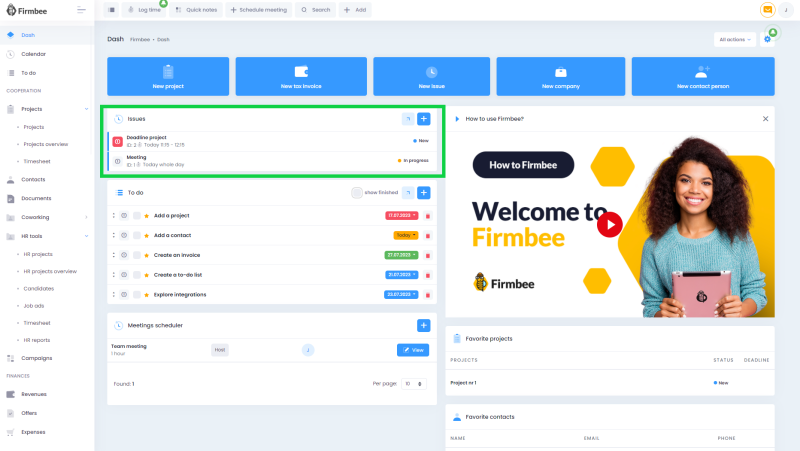
Issues
Upcoming users are displayed on the dashboard. Depending on the user permissions, in this section he will see his own issues, those of a group of users or those of your organisation.
To do
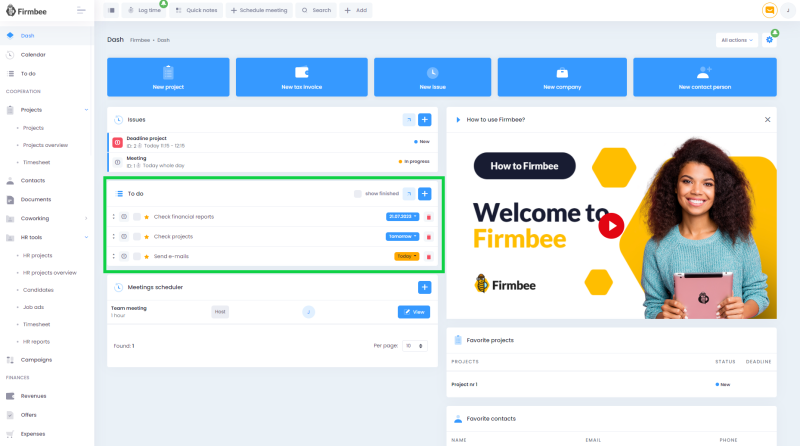
From here, the user can find a To do list.He can add his own items in the To do list or generate them from the existing issues. Items on the list can be moved by using drag&drop. The list displays the following items:
- a checkbox which allows marking something as done,
- the content of the task,
- deadline/button enabling to set a deadline,
- priority/button enabling to indicate the priority,
- button to delete the task.
Adding and editing a task
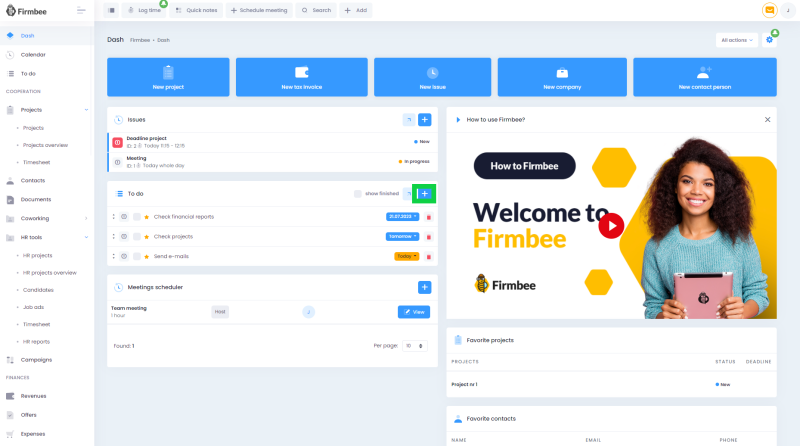
To add an item, you have to click the Plus button in the box header. In the first place of the list, a text field will be displayed, where you can fill in the content of the task.
Marking an issue as done and reopening it
Clicking on the checkbox next to an item generates a Mark as executed. After that, an item disappears from the list.
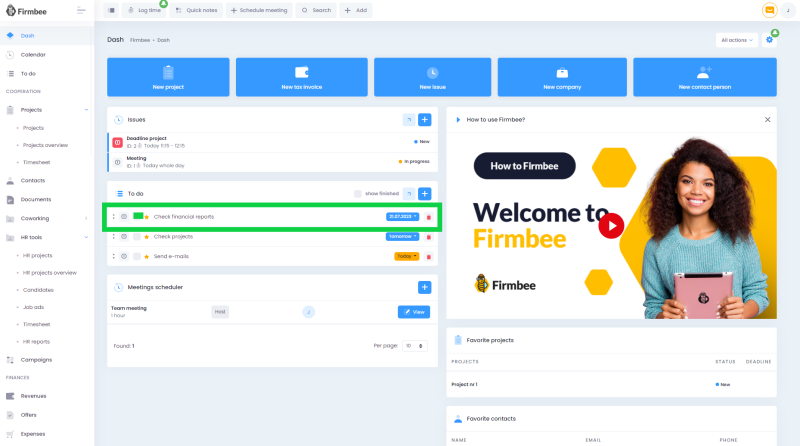
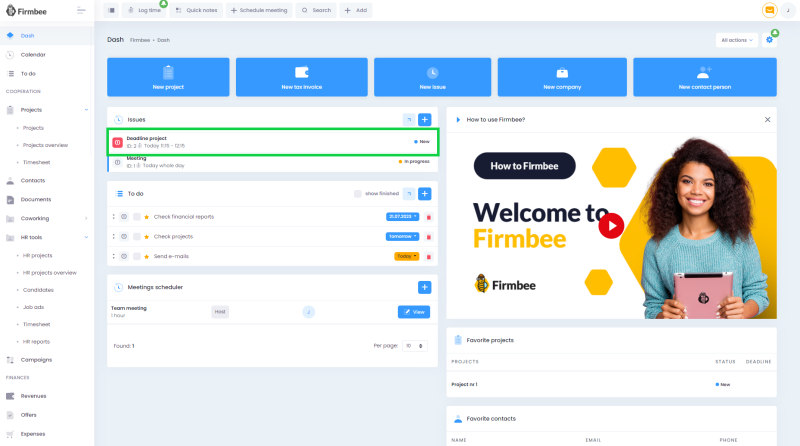
To display the completed tasks, you have to activate the show finished switch. When you change the status of the switch, previously completed items will be displayed in the checkbox with checked and crossed-out content. The user can reopen the task by clicking on the checkbox.issue to an item to do You can make an issue appear in the To-do list from different places of the system. When creating an issue, the option Generate to do is available.
Example 1.
 Example 2.
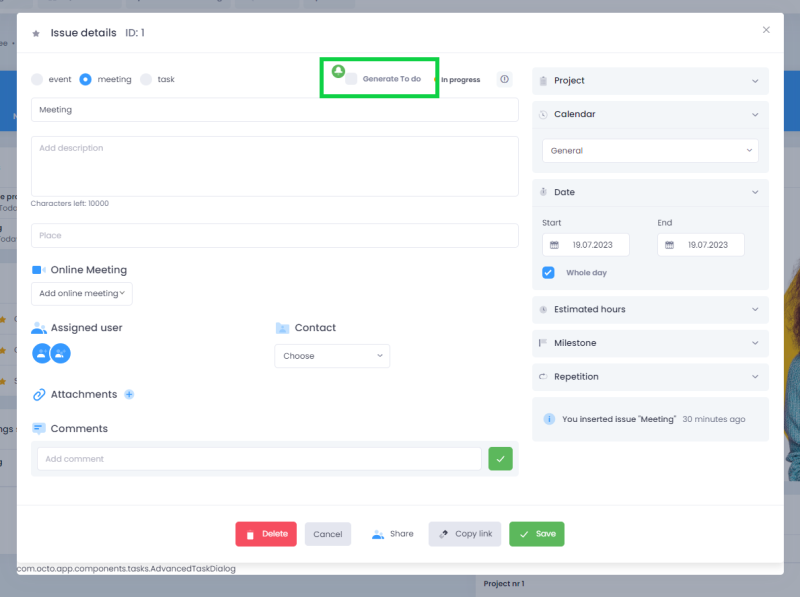
The issue subject and date, if it’s completed, are copied into the item. The content of the item in the to do contains a link to the full submission – clicking on the link, displays a task panel. Updating the date of a to do can only be done from within the details of this submission.
Example 1.
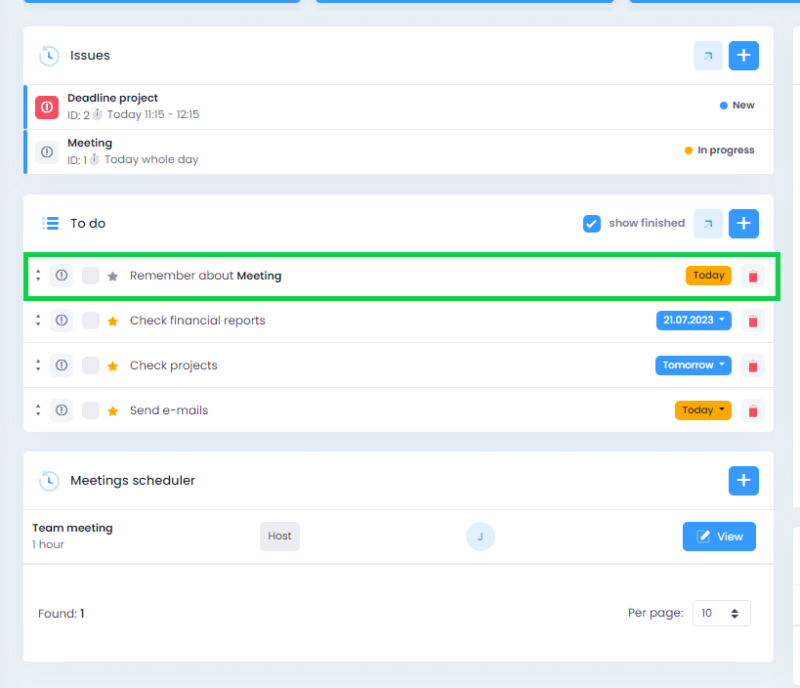 Example 2.
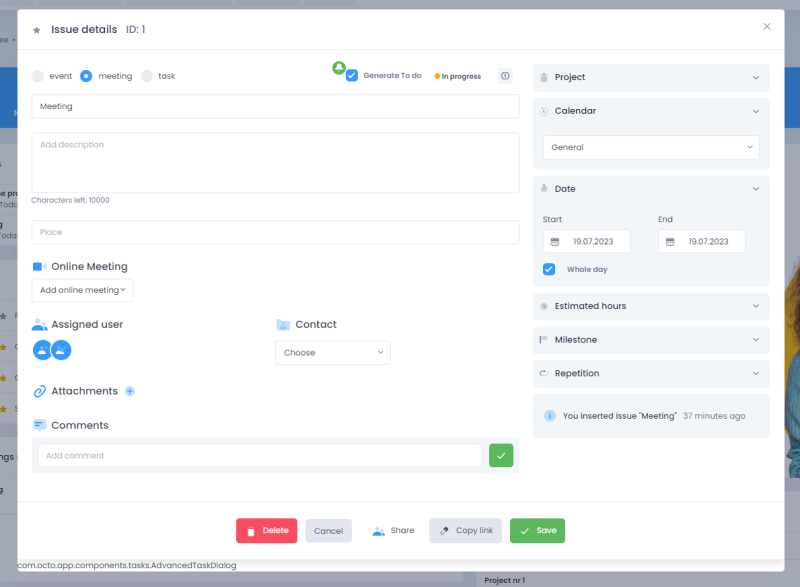
To do with the payment reminders
In the to do configuration (configuration/preferences/to do) you can enable automatic reminders about payment deadlines. To enable the function, turn on the switch to do with a reminder about an upcoming payment deadline for revenue and define when reminders should appear on your desktop.
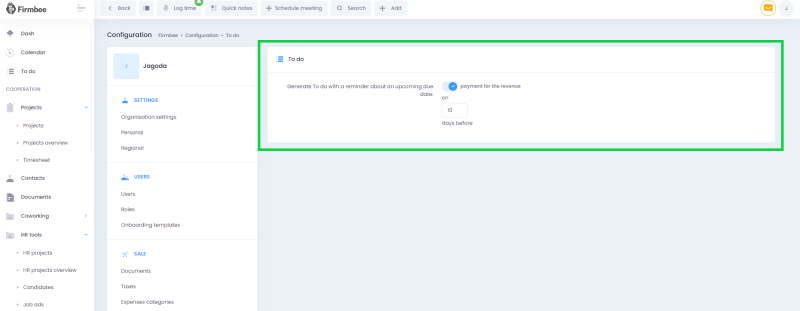
When this setting is enabled, a reminder task about the invoice payment will be displayed.The payment reminder is integrated with the revenue status. Submitting the payment for the invoice marks the task as completed.
My scribbles
In the next section, you will find a text editor for a personal scribbles. The content in the editor is automatically saved and remains in the editor until it is deleted by the user (by deleting the entered text an/or overwriting it with new content).
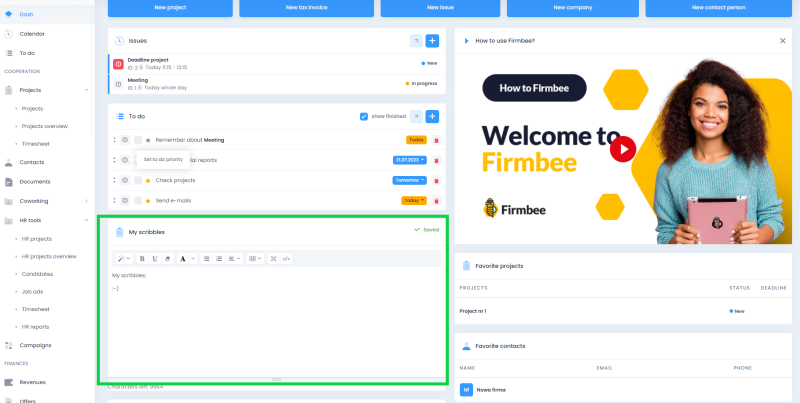
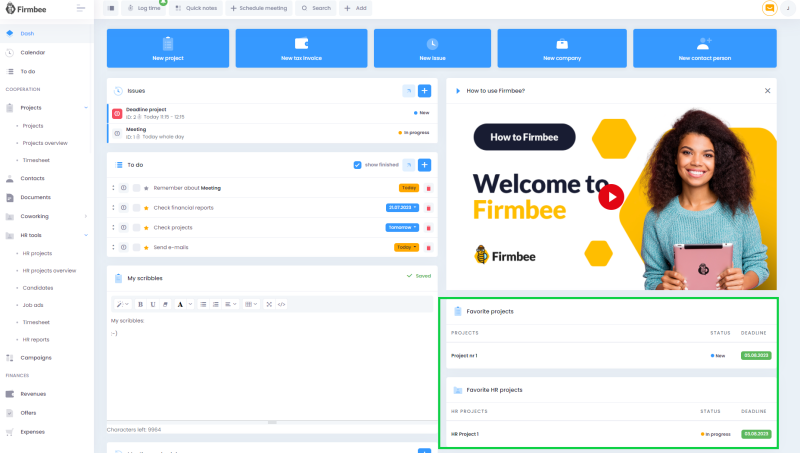
Favorite projects/Favorite HR profiles
Here you can see a list of projects and HR profiles marked with an asterisk as favorites.
6. Overdue payments
This section displays a list of upcoming and overdue payments for expenses and revenues.
