In this article you will find a description of the tools for creating and modifying the shapes that will make up each of your projects. You will learn about basic shape editing options and more advanced features such as boolean groups and mask creation. How to create shapes in Figma? Read and find out.
How to create shapes in Figma – table of contents:
Adding shapes
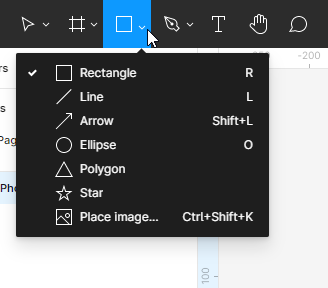
You can add a shape using the Shape tools function that you will find in the Toolbar. This function allows you to create basic vector shapes: rectangle, line, arrow, ellipse, polygon, star.
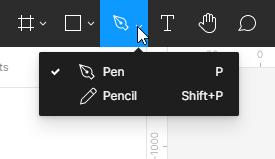
You can also create custom shapes using Drawing Tools. You can choose either a Pen or a Pencil.
Just like in the case of frames, there are many ways of creating shapes:
- After selecting a shape from the Shape tools list, click on the Frame or the Canvas area. This will create a shape with a default size of 100×100 px.
- If you want to have control over the size of the created element, click on the Frame or Canvas area and hold down the left mouse button, then by moving you can manipulate the size of the shape.
- If you want to create a perfect square, circle or polygon, hold down the Shift key while dragging.
Each shape, text object or image that you add to the Canvas will be a separate layer. This allows you to modify the individual properties of each element.
Properties panel – Design
You can view and edit object properties in the Design tab of the Properties panel. The type of layer determines what parameters will be displayed here. Most parameters are the same in all layer types. If you do not choose any layer, the Properties panel will display all local styles for the file and the Canvas color.
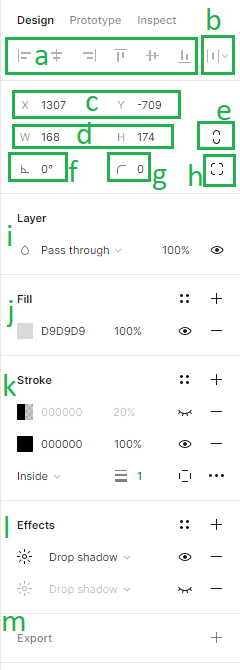
In the Design tab, you can add the following parameters:
1. Alignment – alignment tools allow you to properly align layers in the Canvas with respect to each other. These functions are only available when two or more layers are selected.
2. Distribution and Tidy up – this function allows you to organize layers by creating equal spacing between them. These functions are only available when two or more layers are selected.
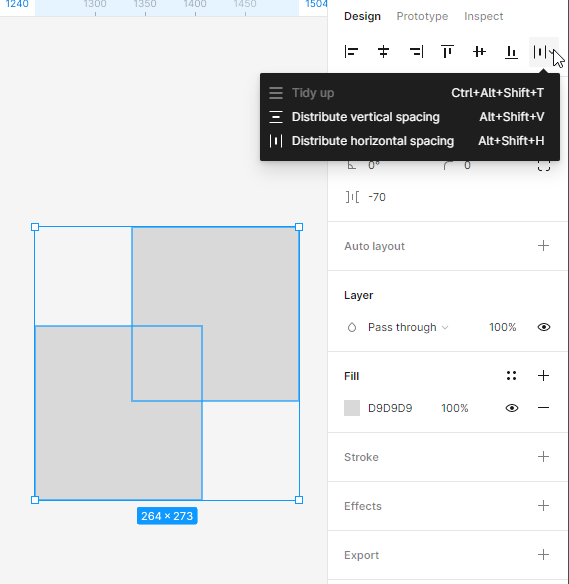
3. Position of the Canvas (X and Y) – here you can adjust the position of layers in the Canvas along the horizontal (X) and vertical (Y) axes.
4. Dimensions of the Object (Width and Height) – here you can change the size of a layer.
5. Constrain proportions – allows you to keep the proportions of the shape while resizing. You can change the height or width of the shape, and the second parameter will adjust automatically.
6. Rotation – here you can set the angle of a frame.
7. Corner Radius – with this function you can round the corners of the frame.
8. Independent corners – the independent corner setting lets you adjust the corner radius for each corner.
9. Layer (Blend Modes) – here you can specify how two layers should blend together. You can apply only one blend mode to each layer.
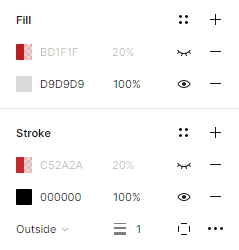
10. Fill and Stroke – you can apply fills and strokes to shapes and text layers. To add a fill or stroke, select the desired layer and click on the + icon. You can add several fills and outlines to each layer.
For fills and strokes, Solid color is set by default. To adjust the properties, click on the color swatch. This will open the color sector, where the options are availablle: Solid color, gradient (linear, radial, angular, diamond) and image.
If you need to modify the stroke style more, you can use Advanced stroke settings, which are available under the ellipsis icon.
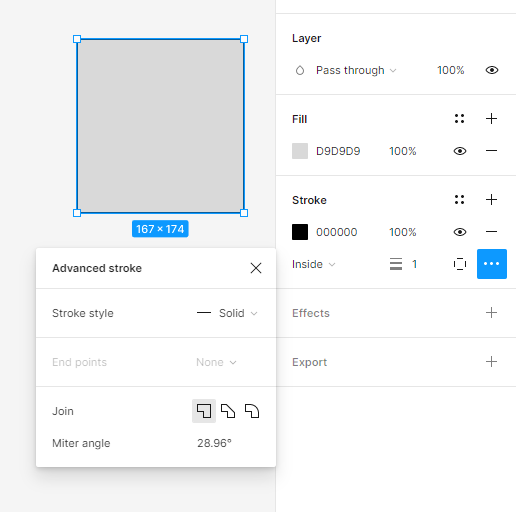
Useful tip: You can switch on and off the visibility of each property in the active layer using the Eye icon. Active properties will be displayed in black, so you can easily distinguish them from the inactive ones.
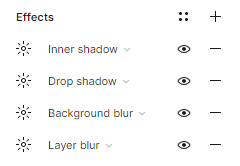
11.Effects – here you can add a shadow or blur to the layer. To adjust the effect values, click Effect settings, which are located under the button with the sun icon.
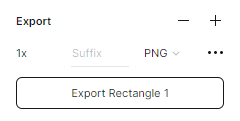
12.Export Settings – here you can export the selected layer to the format of your choice: PNG, JPG, SVG and PDF.
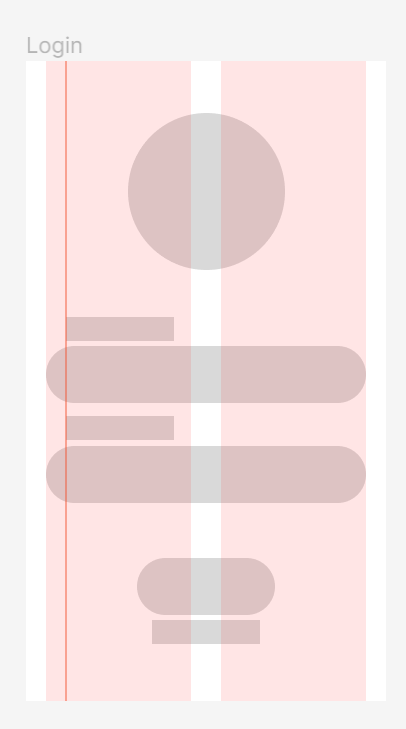
Task 4.1. Plan the layout of your application’s interface elements. First, create wireframes using simple shapes.
Useful tip: Remember to give each layer proper names on a regular basis. If you don’t keep an eye on this, you will certainly make a mess in your layers.
Let’s start from the Login screen:
- At the top of the screen we will place the logo of the application being designed.
- There will be placeholders with labels below: login and password. At this point you can mark the place for the text with a rectangle.
- At the bottom of the screen we will place the login button.
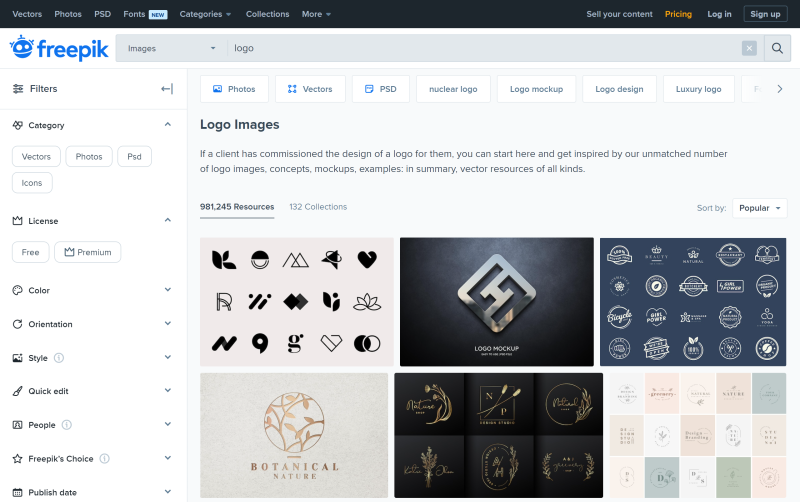
Useful tip: If you are looking for a logo for your project, visit this website: https://www.freepik.com/free-photos-vectors/logo and download it for free.
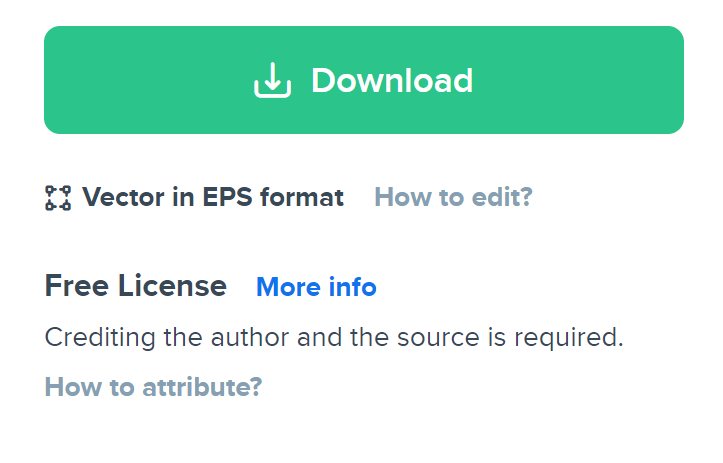
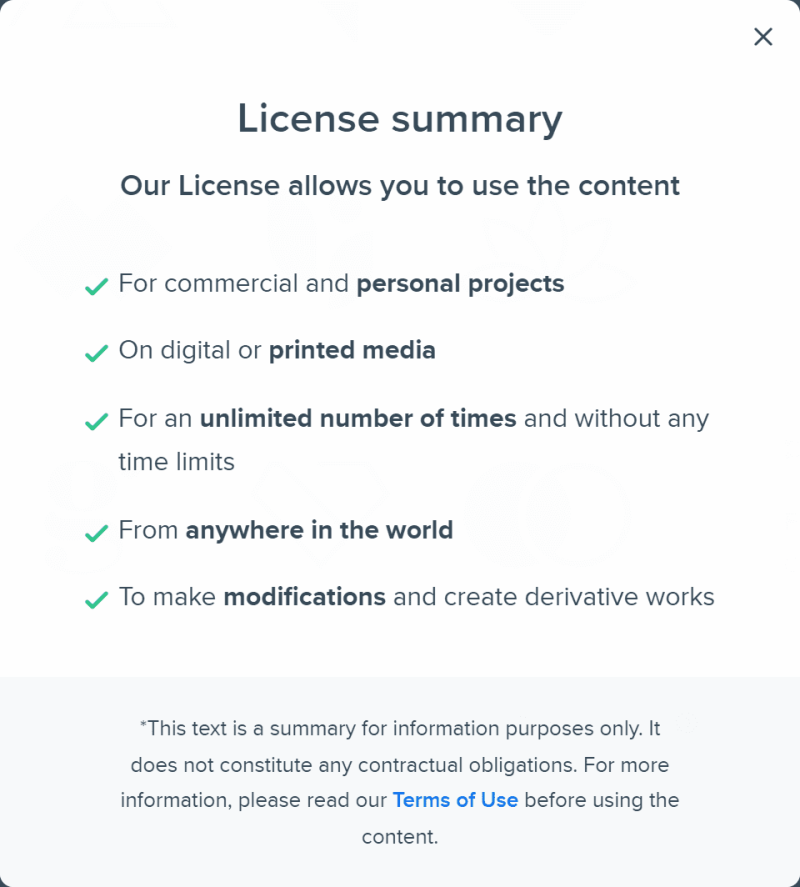
Every file on Freepik.com has a license notice. Before downloading, make sure its license allows you to use it as you need.
You can also use a logo available in the “Logo creator” plugin.
Now let’s deal with the Home frame:
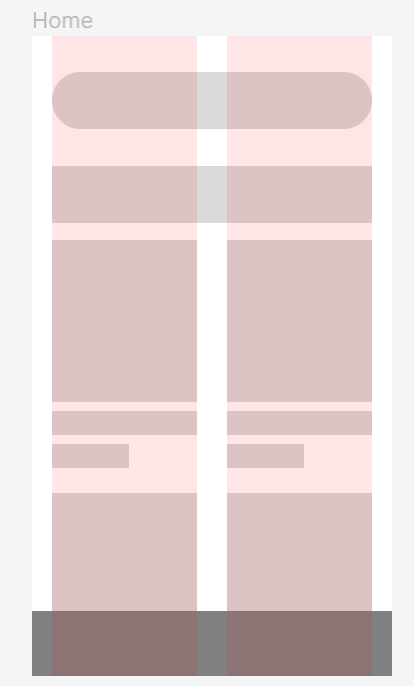
- We will place a search bar at the top of the screen.
- There will be the “Bestsellers” header below.
- Under the header, we will place product images in two columns. Create a rectangle that fits one column and duplicate it several times.
- Under each product there should be some space for its name and price.
- Another element of our interface will be the bottom bar, where we will place the icons: home, favorite, profile, basket.
Useful tip: You can easily add icons to your project, copying them from the Figma library.
Community. You will find a sample file here: https://www.figma.com/community/file/1118814949321037573.
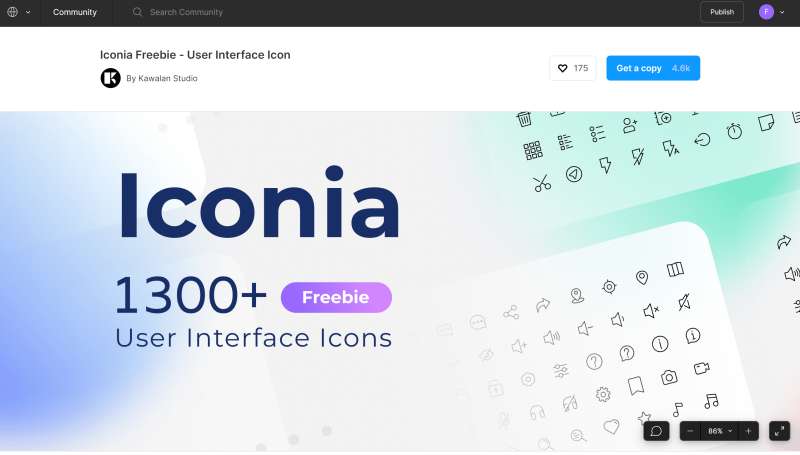
Just click on Get a copy button and it will open Iconia file – fully editable icon pack of 1,300+ ready to use and scalable vector icons in 6 unique styles. To copy the selected icons, go to the Iconia library page in the Layers panel.
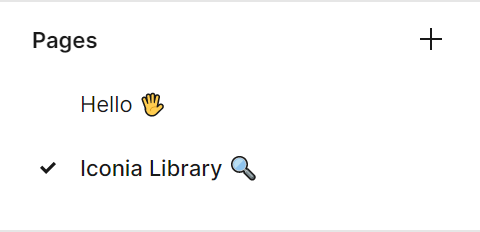
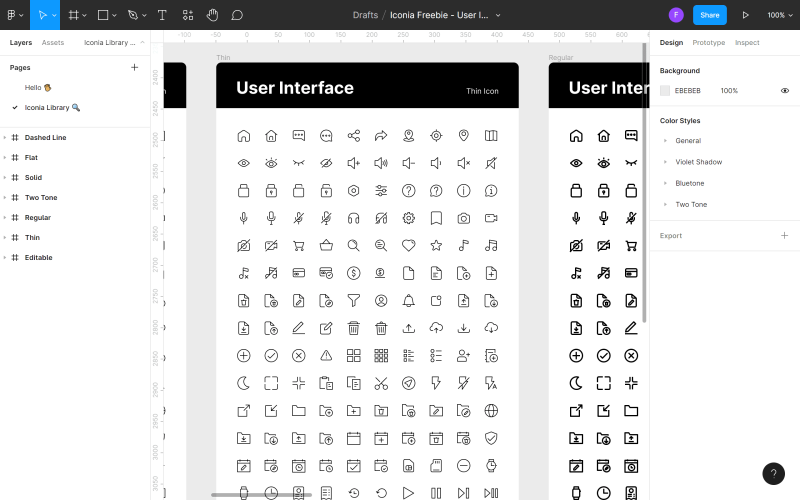
Find the icon you want to use in your file, right-click on it and click Copy. Then go back to your file, right-click anywhere again and choose Paste here. Another way to add icons is to use plugins.
Remember that consistency of interface is very important. Decide on one style of icons and stick to it everywhere in your application. Apply the same principle later to text styles, image sizes and other elements.
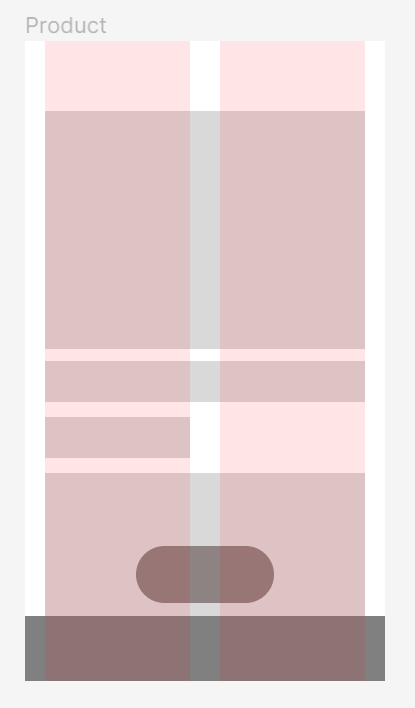
Once you have planned the layout of the elements on the home page, you can move to the Product frame:
- At the top of the screen, we will place the “Back” button on the left side.
- There will be a large photo of the product below.
- In the right corner of the photo, we will place a button with the “favorite” icon.
- Below the photo, we will place the name and price of the product and space for a description.
- At the bottom of the screen we will add a CTA button “Add to cart”.
Edit object
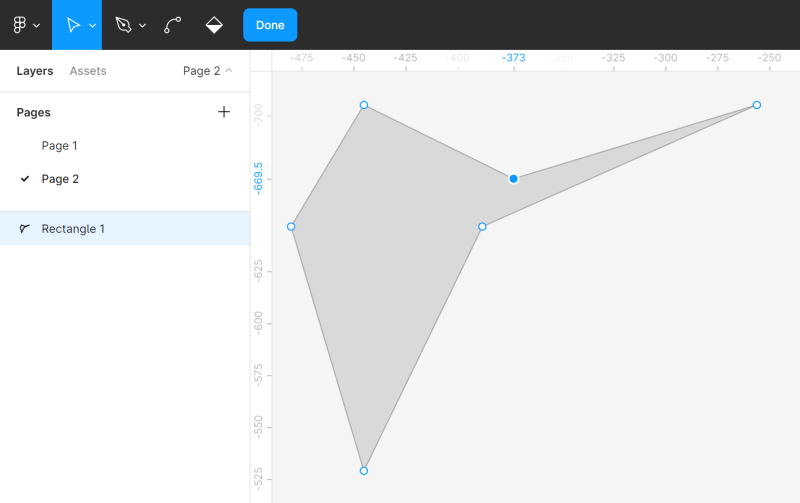
You can easily modify all shapes using the tool Edit object which can be found in the middle of the Toolbar. In order to use this function, first you need to select the shape that you want to modify.
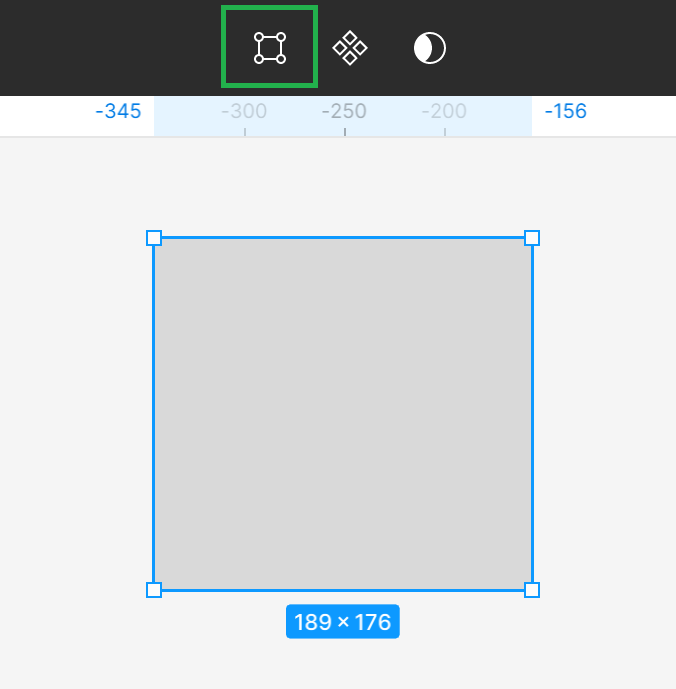
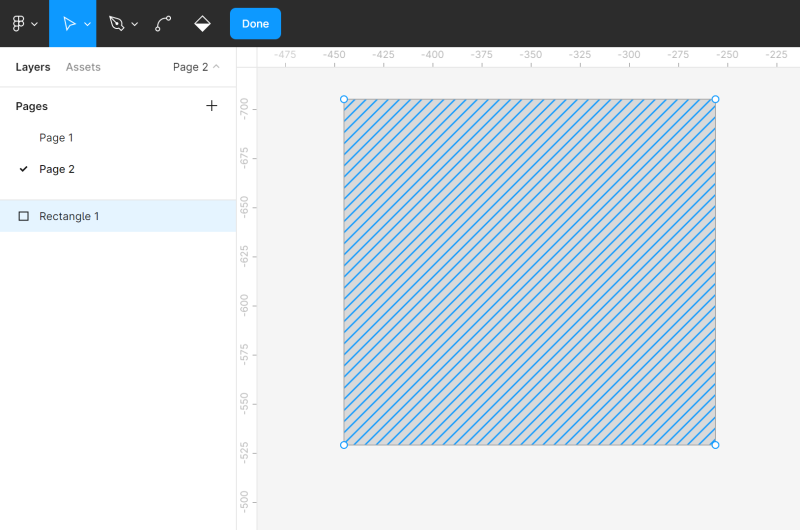
Activating the editing mode will make new features appear in the Toolbar, and you will see corners points on the edited shape. You can click on the desired corner point and drag it to change the form of a shape.
You can also add other Corners points to the shape using the Pen tool. This will allow you to make more modifications.
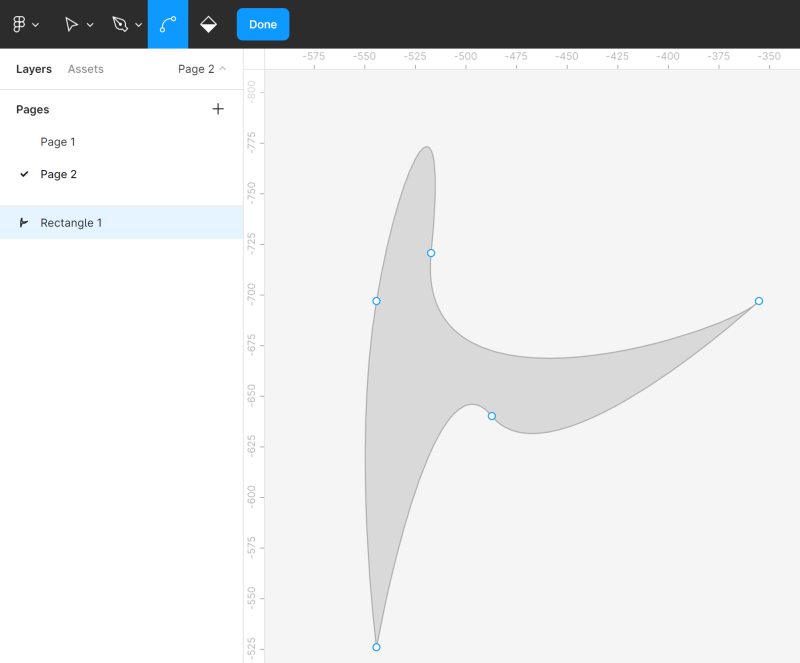
You can freely bend shapes using the Bend tool. Select the Bend tool in the Toolbar, and then click on the chosen corner point.
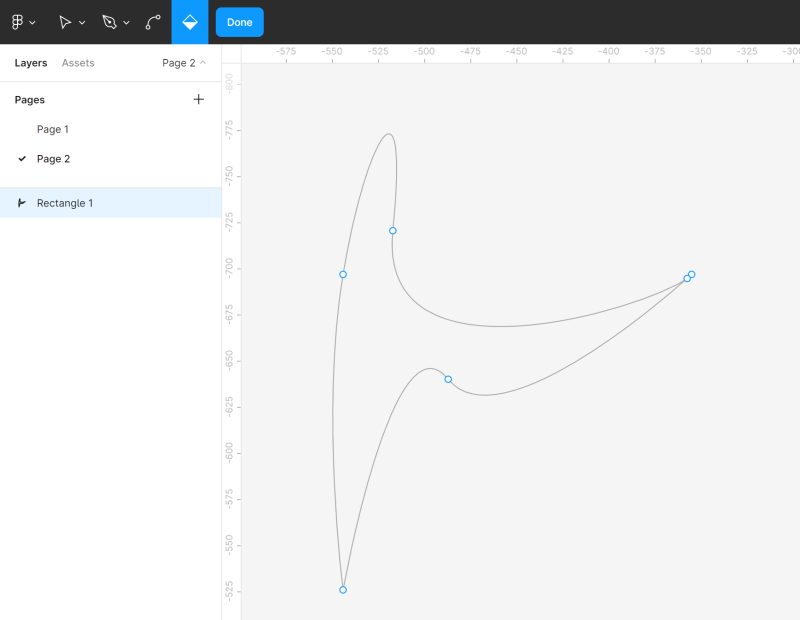
The Paint bucket tool allows you to remove and restore the fill of a shape. To do this, select Paint bucket and then click on the shape you are editing.
In order to exit the editing mode, click Done.
Boolean groups
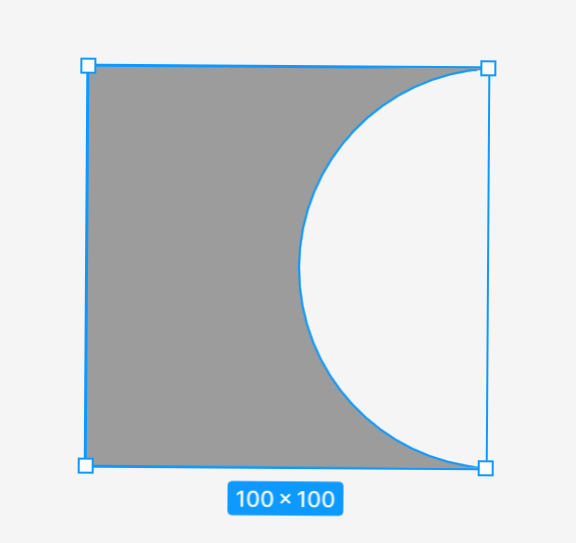
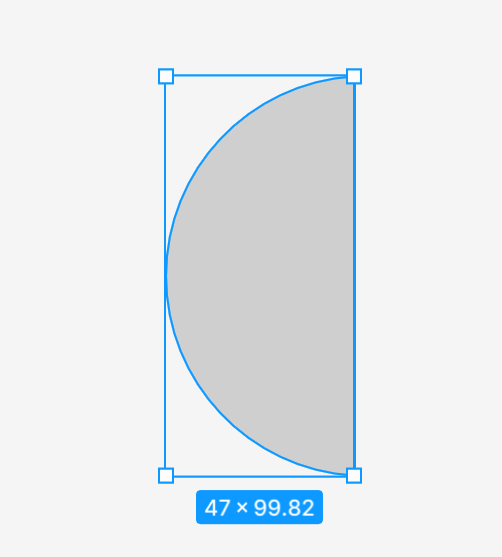
If you select two or more shapes, the Boolean groups tool appears in the Toolbar. It allows you to create custom shapes by combining them, using one of the four available formulas: union, subtract, intersect, exclude.
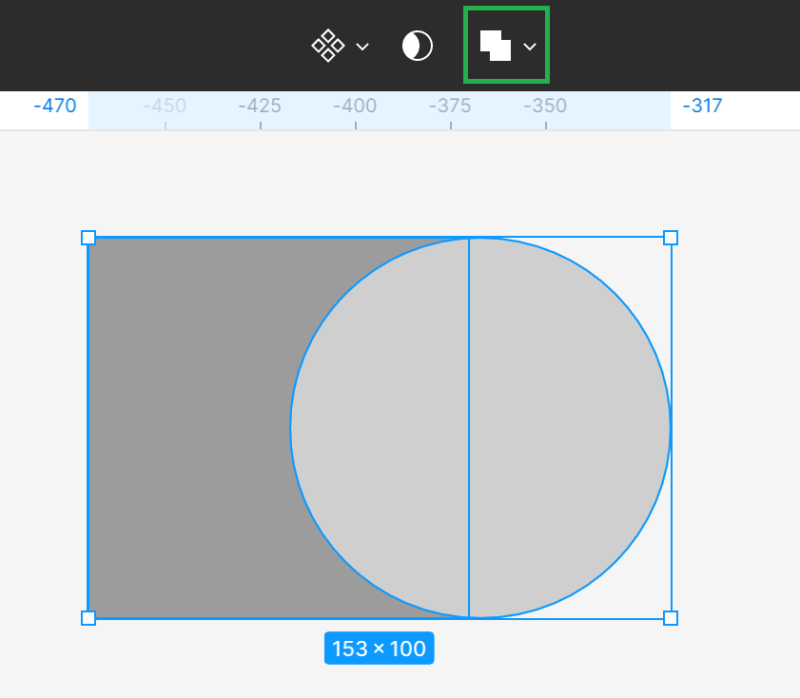
- union selection – combines the selected shapes into one new shape.
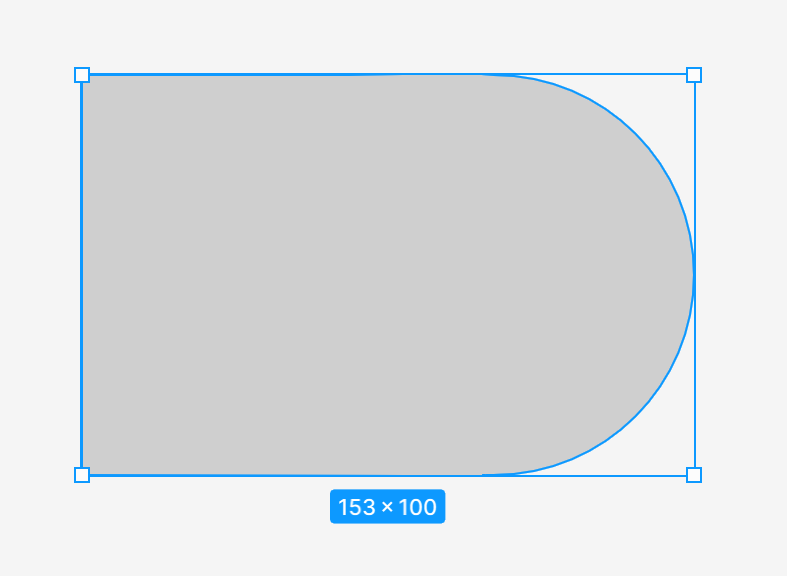
- subtract selection – subtracts all upper shapes and their overlapping areas from the lowest shape
- intersect selection – the new shape consists only of overlapping fragments of selected shapes
- exclude selection – the created shape consists only of fragments of selected shapes that do not overlap.
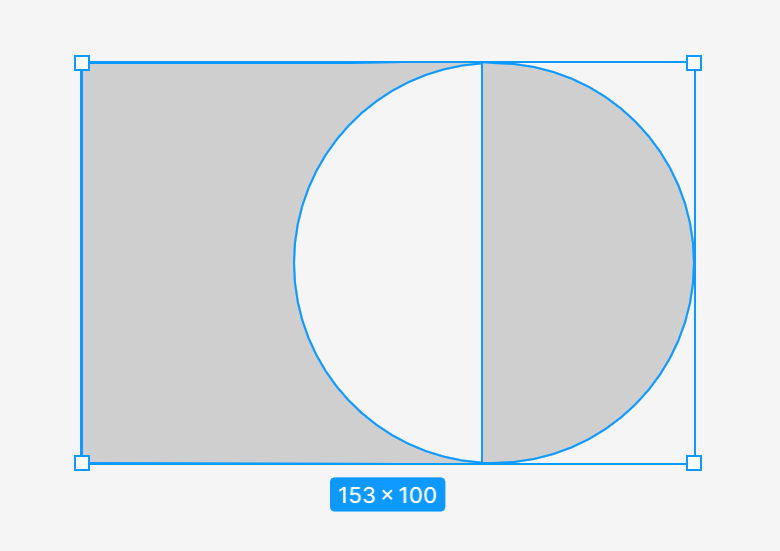
After applying the Boolean group tool, all the selected shapes merge into a single layer, which means they share fill and stroke properties. You can combine them with other shapes and perform further logical operations.
Task 4.2. Practice modifying shapes with the Edit object and Boolean group tools. Even if you don’t need these functions at this stage of your project, it’s worth consolidating your knowledge through practice. Be creative and have fun. You can also try to recreate the sample shapes you see in the following screenshot.To do this, create a new page in the file or add objects next to the frames with the project, and then simply delete them.

Masks
Masks allow you to show only selected areas of an image and hide the rest without cropping. This means that no part of the layers in the masking process is removed or modified, so you can modify the mask at any time if you want to show another part of the image.
To understand this better, you can imagine a picture frame with a small opening. You will only see part of the photo in it, while the rest is hidden, but if you open the frame, you can still see the whole photo.
You can use any layer as a mask, such as vector shapes, text layers and images. The order of the layers is very important. The lowest layer in is considered the container of the mask, that is, the opening through which you will see the image.
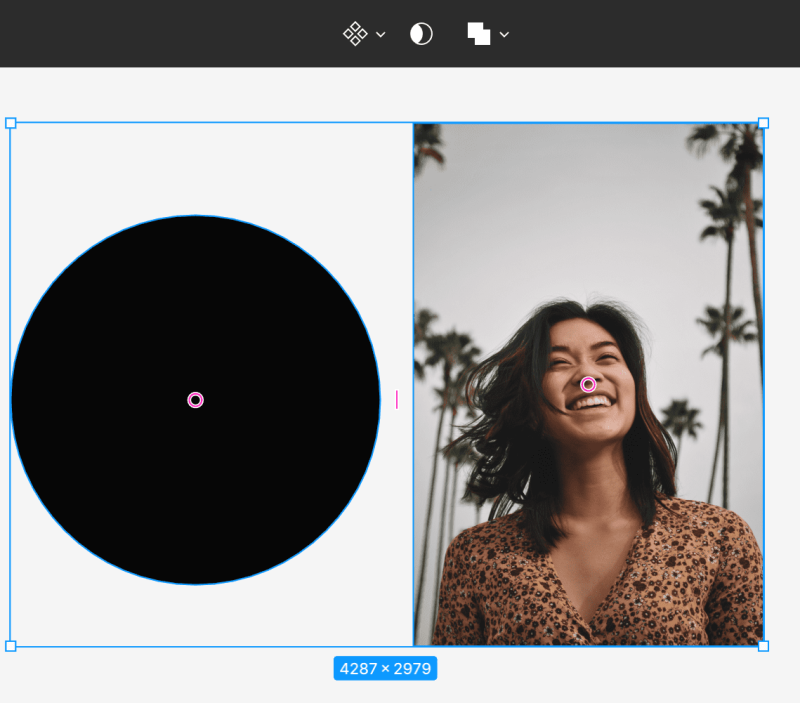
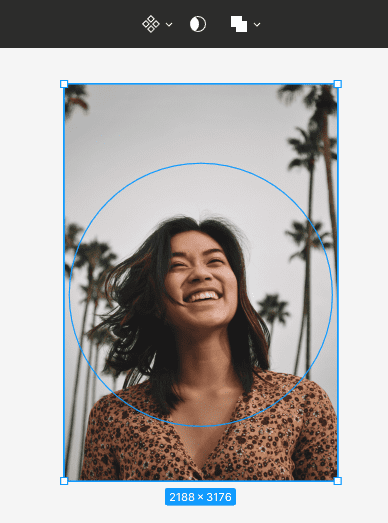
To create a mask, make sure the layers are properly aligned. Then select both layers and choose Use as mask in the Toolbar.
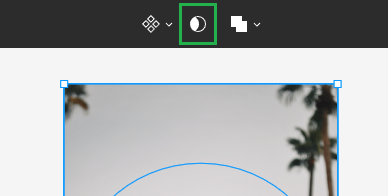
All outer areas of the layer that are above the container will be hidden. Only those areas that will be inside the mask area will remain visible.
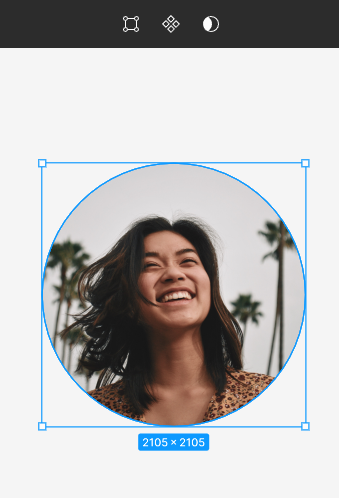
Task 4.3. Use masks to add product images to your design. Remember the correct order of layers. The layer that will be the container must be below the image layer.
Useful tip: You can download free images for your projects from the website https://unsplash.com.
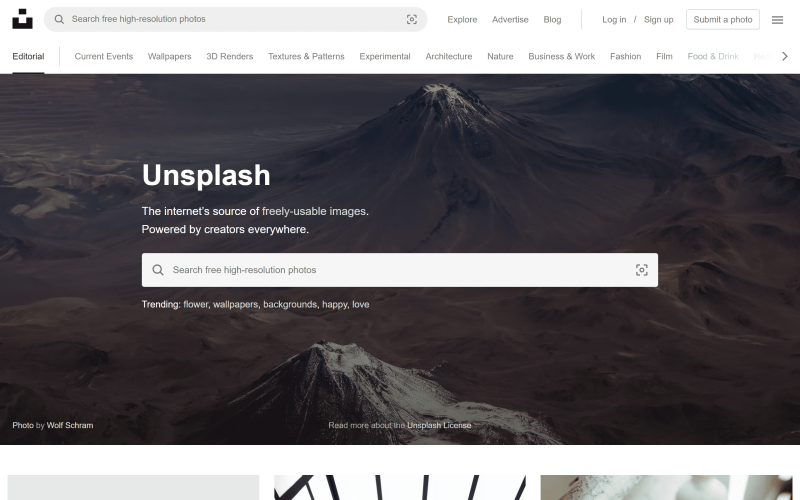
You can also use the “Unsplash”plugin.
You’ve just learned how to create shapes in Figma. Read also: 10 usability heuristics for UX design.
If you like our content, join our busy bees community on Facebook, Twitter, LinkedIn, Instagram, YouTube, Pinterest.
Author: Klaudia Kowalczyk
A graphic & UX Designer which conveys into design what cannot be conveyed in words. For him, every used color, line or font has a meaning. Passionate in graphic and web design.
