In previous articles, you learned about some of the tools in Figma that greatly facilitate teamwork: observation mode, styles, and components. Today, we will briefly discuss other important functions that enable efficient communication when working remotely. As you probably know, good communication in a team is essential. You will learn how comments work in Figma. You will also get to know what FigJam files are and what they are used for. Read on to find out more.
Collaboration tools in Figma – table of contents:
Getting started with comments
To enter the comment mode, click Add comment in the Toolbar, then click the desired location on the Canvas where you want to pin the comment.
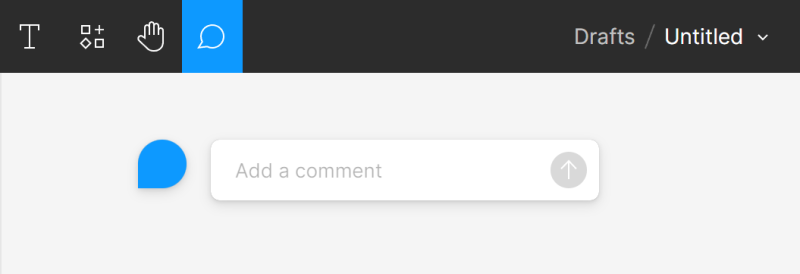
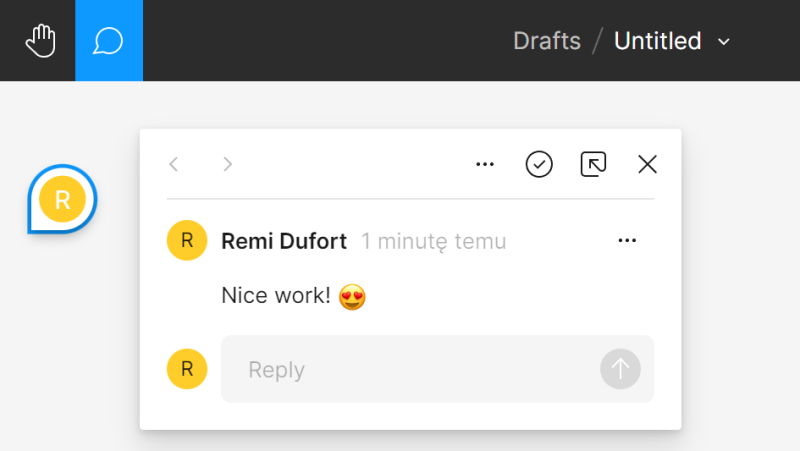
With the enabled comment mode, you can manage comments in the Properties panel.

Making changes to layers in the Canvas is not possible while comment mode is enabled. To exit a comment mode, press Esc or select another tool in the Toolbar.
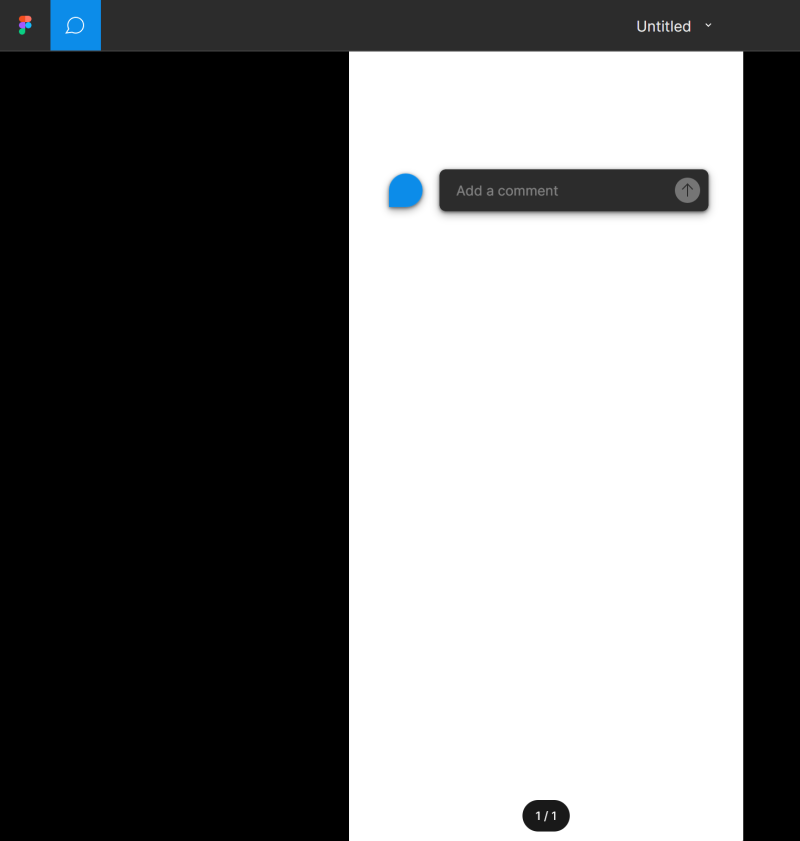
Comments in prototypes work the same way as comments in files. To add a comment to a prototype, open it in the Presentation view and go to the screen you want to comment on. Next, click Add comment in the Toolbar and select the place on the screen where you want to pin the comment.
FigJam files
FigJam is a digital whiteboard for efficient teamwork. You can use FigJam files for:
- brainstorming and generating ideas,
- creating decision trees, diagrams and mind maps,
- adding feedback on projects,
- organizing research,
- planning and conducting meetings and interactive sessions.
To create a FigJam file, go to File browser and click New FigJam file.

A FigJam file consists of an infinite whiteboard and two toolbars.
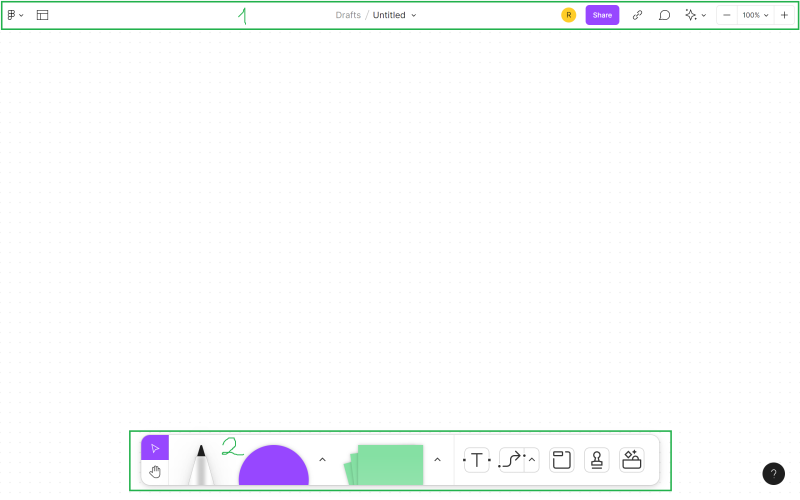
1. Top toolbar
a) Main menu – a list of all FigJam functions and their keyboard shortcuts. Some options will be available only after selecting an object.
b) Templates – here you will find board templates that you can use.
c) File name – here you can see and change the location of the file or its name.
d) Users – here you will see the avatars of the people who are currently viewing or editing the file.
Useful tip: In FigJam files, too, you can click on another user’s avatar to enable observation mode and follow their actions in real time.
e) Share settings – you can manage other users’ access to the file.
f) Copy link – you can quickly allow other people to access the file by sending them a link.
g) Add comment – allows you to add comments anywhere on the board.
h) Collaborate – here you have tools that facilitate communication during teamwork and a timer.
i) Zoom/view options – you can quickly adjust the view options in the file.
 2. Bottom toolbar

a) Navigation
- Move tool allows you to move and zoom objects
- Hand tool allows you to move around the file without moving items accidentally
b) Drawing tools – after clicking on the Marker tool, you have access to various drawing options. Thanks to Marker and Highlihter tools, you can draw freehand lines and shapes. This is a great way to draw attention to something important.
c) Shapes – you can use shapes to create diagrams. You can add content to the shapes and connect them with lines.
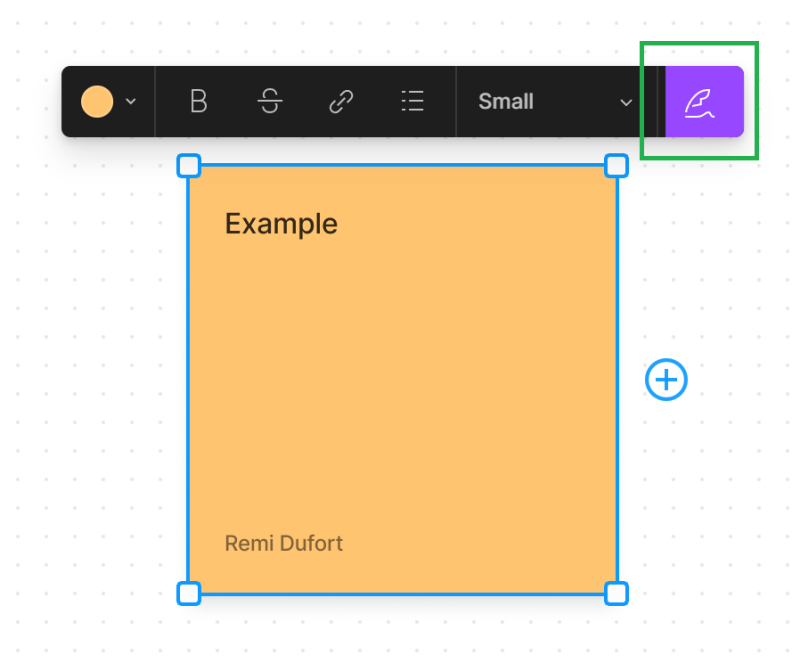
d) Stickies are the virtual equivalent of paper post-it notes you can write down your ideas on. To add a stickie, you can use the shortcut S.
Useful tip: Remember to write down only one thought per stickie. This will make it easier for you to group ideas and choose the best solutions. The stickies you create will display your name. You can remove this information or restore it using the Show/hide author option.
e) Text – this is a key element when brainstorming and communicating information to other team members.
f) Connectors and lines – lines allow you to create paths between shapes and stickies, change order or add notes.
Click the lines icon on the toolbar and select the type of line you want to create, then click and drag the cursor between the objects you want to connect.
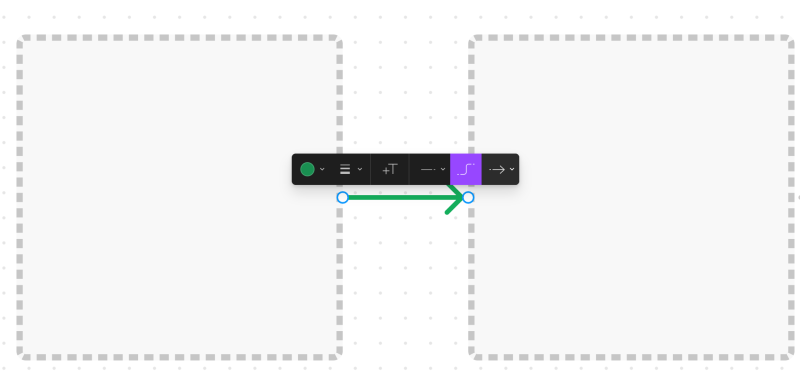
Lines can be moved around the board and combined with other objects.
g) Sections – thanks to this option, you can group related objects or guide workshop participants through specific activities. Using sections will help you avoid chaos on the board.
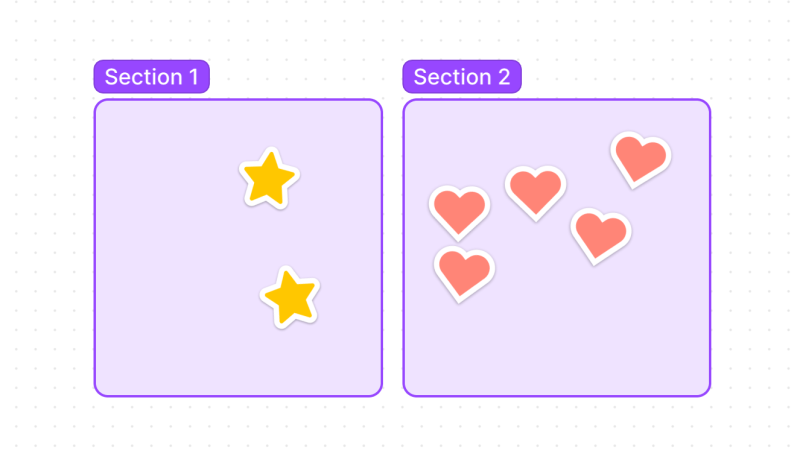
h) Stamps and emotes – allow you to add visual responses that can be more effective than text in certain situations.
Stamps can be used to generate heat maps, vote on ideas or assign people to tasks.
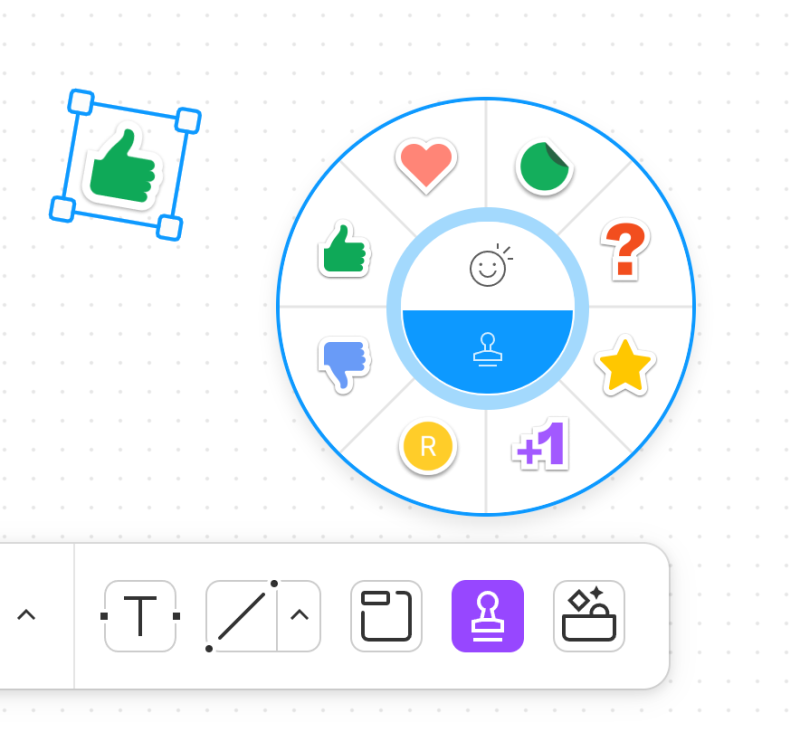
Emotes are temporary reactions used, among others, to provide quick feedback during collaboration and attract other users’ attention.

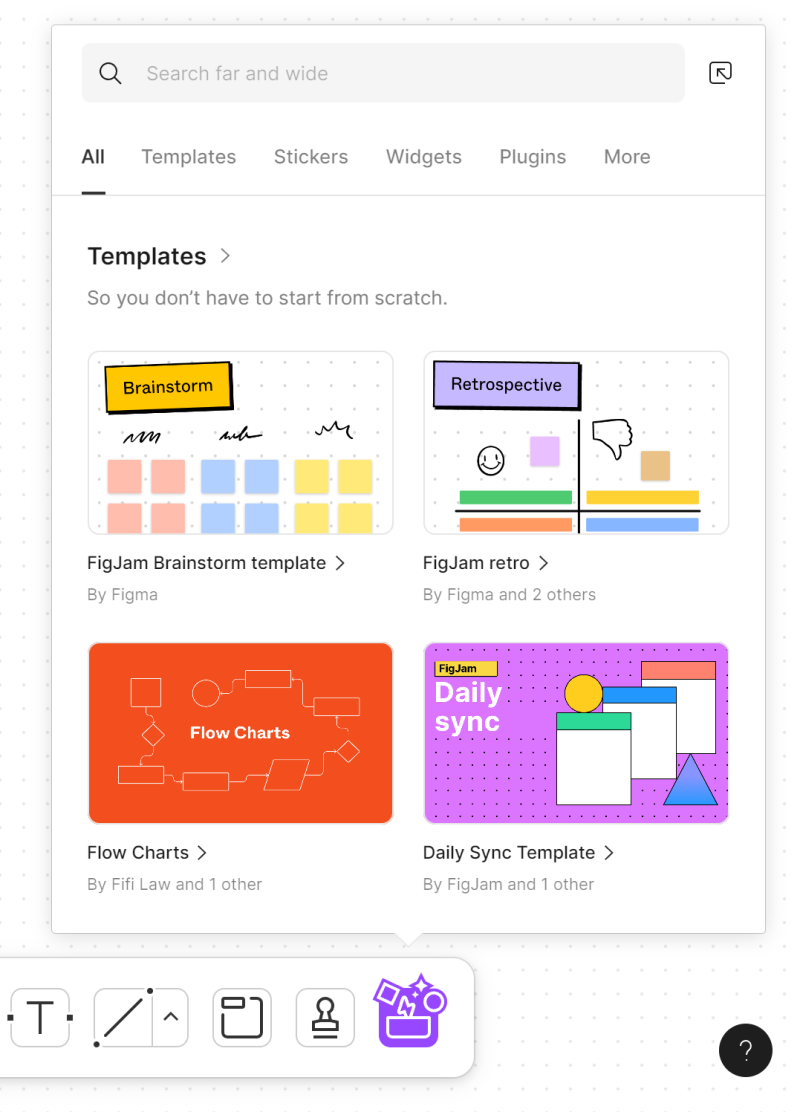
i) Widgets, stickers, templates and more – here you will find the resources you can use while you work.
You’ve just read about collaboration tools in Figma. Read also: 7 factors of outstanding User Experience.
If you like our content, join our busy bees community on Facebook, Twitter, LinkedIn, Instagram, YouTube, Pinterest.
Author: Klaudia Kowalczyk
A graphic & UX Designer which conveys into design what cannot be conveyed in words. For him, every used color, line or font has a meaning. Passionate in graphic and web design.
