In our previous post, we defined a User-centered process. Today, we’ll outline the stages of User-centered design. We’ll also suggest when and how to kick off the design process, as well as explain the importance of Persona for the final product. Without further ado, sit back and take a look at our article.
Stages of User-centered design process – table of contents:
- User-centered design process in a nutshell
- The first stage – empathizing
- Stage two – establishing the concept
- Stage three – design
- Stage four – usability testing
- User-centered design process – Summary
User-centered design process in a nutshell
User-centered design is an approach to developing and designing solutions that focuses on the users and places them at the heart of the process. Their needs, desires, expectations, problems, and pains become the essence of examination and creation. We introduced the User-Centered Design methodology, its principles ad pros and cons in more detail in our previous article “User-centered design and its main principles”.
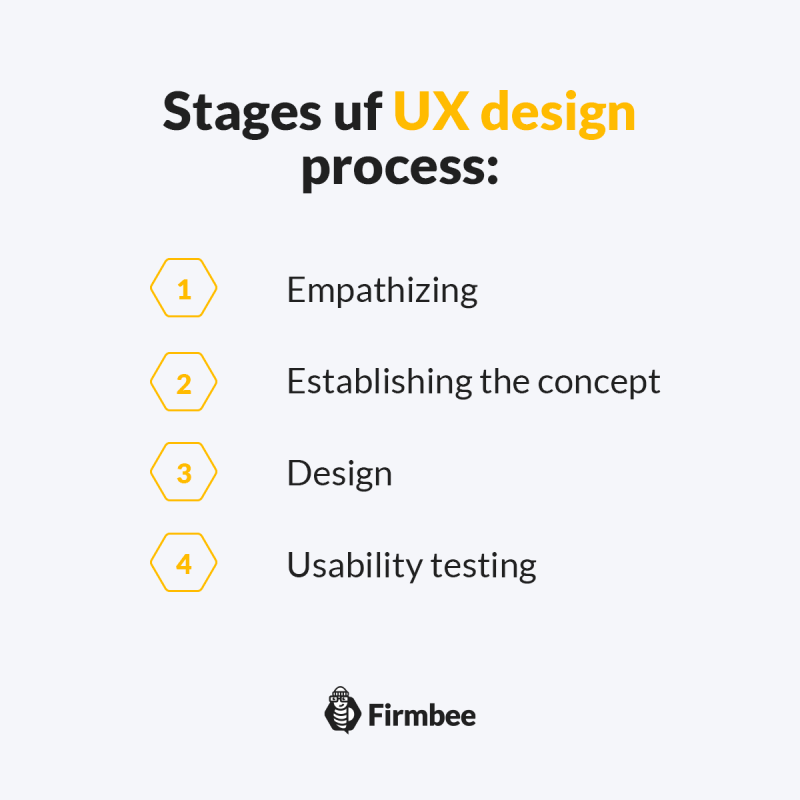
For a quick recap, User-centered design process essentially consists of four stages that are repeated cyclically until achieving optimal usability and meeting core user requirements.
The first stage – empathizing
The first stage concerns researching which aims at empathizing – that is, perceiving the problems, pains, routines, habits requirements, needs and desires of our users. At the outset of this stage, we identify the target group and closely observe them. Conclusions and evaluations in the natural (controlled in the language of science) environment provide the most valuable insight and reliable data.
Our genuine UX data enables designers to sketch out the Persona or Protopersona – a picture of the “ideal user”. Persona is a key element in the User-centered design process as it keeps us focused on the user during each subsequent stage.
Persons are based on the results of research – surveys, in-depth interviews, and desk research, while Protopersons are designers’ ideas about the user – they are supported by the best available knowledge about users. Protopersons will therefore be less detailed and accurate, while in situations where in-depth research and Personas are not possible, Protopersons seem to be the right solution. Of course, it all depends on the company, the project, and the product, as well as the budget, the size of the UX team, and the time they have available.
Based on the research results, UX designers at this stage can also create empathy maps, user stories, user flow, or customer journey maps. All these tools allow the designers to empathize with the user and understand their needs even better. A good understanding of their motivations, frustrations, and desires, as well as determining e.g. their purchase path in the case of e-commerce, allows for creating a solution that meets users’ needs at later stages.
Stage two – establishing the concept
Phase two focuses on coming up with the idea creation (ideation), based on the research findings from the previous phase. During this one, a good practice is team brainstorming, as well as other creative techniques to bring about numerous concepts, ideas, and solutions. Then, it’s just collectively selecting the top ones that go to the hypothesis matrix.
There, we put the ideas against the business requirements. This helps to estimate whether a given solution will translate into a specific business result, e.g. increase in conversions, decrease in shopping cart abandonment, growth in the number of returning users, prolonged in the duration of sessions on the website, spike in the number of new users or increase in the page views.
In the next step, we analyze the hypotheses in terms of their importance to the user and the difficulty of implementation. Functions that are relatively important to the user and feasible in terms of time or financial resources will be implemented in the first iteration.
Functions and solutions that are slightly less important or more difficult to implement may be scheduled for later iterations. On the other hand, ideas that turn out to be of little importance from the user’s point of view or those assessed as extremely difficult to implement may be eliminated from the pool of hypotheses. This chart is called the Moscow prioritization (Moscow chart) and lets you identify key solutions for the user as well as implement them within the planned budget and timeframe.
Stage three – design
The third stage concerns design – translating the generated solutions into mockups. This stage starts with creating a site map and laying out the information architecture. It consists of sketching the page layout, the main menu, tabs functionalities, etc on each subpage.
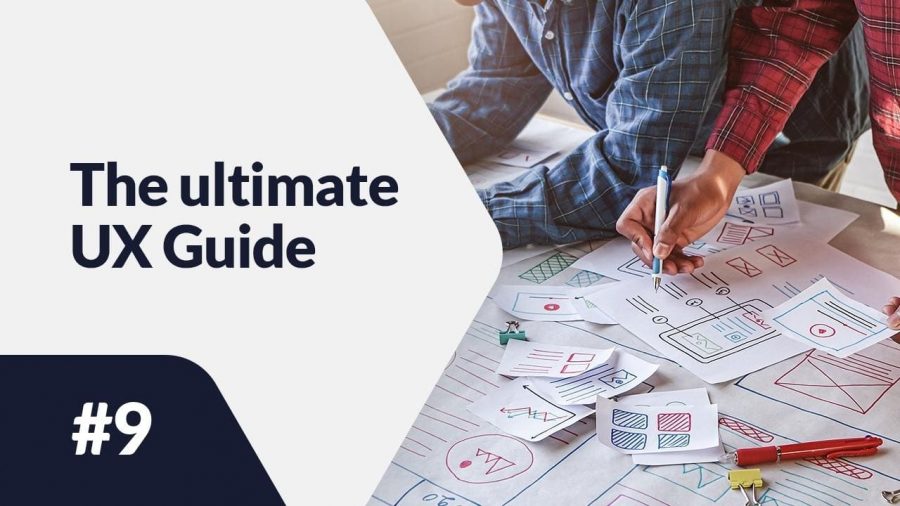
After this initial layout, designers can move on to creating the first Lo-Fi mockups. These are low-detail mockups, usually in black, white, and various shades of gray. Their role is to present the size and layout of individual elements such as navigation, images, text, links, and buttons. Often there is a lack of detail here as the mockups focus on the key parts of the product.
However, it’s worth taking care of the content already at this stage and keeping away from Lorem ipsum. In cooperation with a copywriter, content writer, or UX writer, it’s good to create first (at least preview) content, to know how particular headings will look on the page or how much space e.g. product descriptions will take.
Currently, you can look for help easily as on the market there are many interface designing tools, like Figma. It’s a standard for designing and creating prototypes (especially in the IT industry). However, it is a relatively new tool. Previously, there were Sketch and Adobe XD.

Stage four – usability testing
The last phase (in theory) consists of usability testing with potential users. This is how designers check if the proposed solutions meet the users’ expectations. We have to conduct usability tests in a neutral, safe environment. To make it, we need to find the right place/location, write a test scenario and recruit participants.
Such tests consist of asking the user to perform several actions on a prototype. Depending on the product, the tasks may concern adding a product to the shopping cart, registering on the website, finding a given product on the list of products, or finding contact details. The tasks require simplicity and coherence while solving, some time to get them you’ll have to ask the users some extra questions.
However, remember to avoid the questions containing suggestions and evocations. For instance, by asking How much you like this button? – we suggest to our users that they like the button, while it may not be so. Also, it’s good to refer to the functionality rather than the visual aspects of the page – after all, it’s just a dummy model.
During usability tests we mustn’t evaluate the users in any way – we should check their way of moving around the website and whether the website is understandable and intuitive for them. It is a good practice to start the tests with a short introduction of the user to the topic – you can introduce yourself, tell a few words about the project and thank them for agreeing to participate.
It is worth emphasizing that his/her role in this process is vital for us. Also, add if and how you’ll record the test or if other people (observers) will participate beforehand. During the test, we mustn’t guide the user or suggest what to do or where to click.
After doing the usability tests, designers watch the recordings and review notes, based on which they create a report with the test results. Such a summary allows to identify recurring problems of the test participants and suggest appropriate changes to the design.
User-centered design process – Summary
Although in theory, User-centered design process consists of four stages, it does not always look like that. After the first usability tests, you may need to return to the mock-up stage and make modifications to the information architecture, functionalities or elements of the website/application (stage 3). Maybe, you’ll have to rethink and improve the concept (stage 2) or even return to empathizing, and conduct additional research or dig into the know-how or users (stage 1).
Such a flexible model allows continuous improvement of product functionality, performance and appearance. All, to perfectly meet the real needs of users and deliver the best solutions.
If you like our content, join our busy bees community on Facebook, Twitter, LinkedIn, Instagram, YouTube, Pinterest.
Author: Klaudia Kowalczyk
A graphic & UX Designer which conveys into design what cannot be conveyed in words. For him, every used color, line or font has a meaning. Passionate in graphic and web design.
The ultimate UX Guide:
- What is UX – and what it is NOT
- UX and UI – are they comparable?
- 7 factors of (outstanding) User Experience
- Do you know what UX Design means?
- Are you designing user experiences? Take care of these things!
- 10 usability heuristics for UX design you need to know
- The UX design process in 5 easy and simple steps
- User-centered design and its main principles
- Stages of User-Centered Design process
- What is Customer Experience?
- User Experience vs Customer Experience. A simple explanation of their relationship
- What is a Brand Experience?
- What is Human-Computer Interaction (HCI)?
- Why UX is important?
- Usability vs functionality in UX
- Examples of good UX design
