This is part 6 of the JavaScript blog post series that will take you from beginner to advanced. By the end of this series you will know all the basics you need to know to start coding in JavaScript. Without further ado, let’s get started with the sixth tutorial.
Java array – table of contents:
- Arrays – basic information
- Adding items to a java array
- Removing items from an array
- Finding out length in arrays
- Sorting arrays
- Reversing elements in arrays
- For each
- Includes in arrays
This tutorial assumes that you have a coding environment already set up. If you have been following the previous tutorials you should already have it open. If for some reason you have closed your setup, you can find the full set up instructions at the Part 4 of these series. In that tutorial we walk through how to set up your Google Chrome Snippets environment for coding.
If you are somewhat comfortable using Google Chrome, here is a quick way to get set up for this tutorial, otherwise you can check out the Part 4 for the full set of step by step instructions on how to set up your coding environment.
If you are on a Mac, the keyboard shortcut to open up the console is to press “Option + Command + J”, after you open up Chrome. If you are using a Windows device, you can use the keyboard shortcut of “Control + Shift + J”, to open up the JavaScript Console, once you open up Chrome. Or you can also go to the menu at the top and go to View -> Developer -> JavaScript Console. Once you Console open, you can click on the “Sources” tab, which is right next to “Console”. Now you show be seeing Snippets. You can either continue coding in a snippet you already started using before, or you can create a new Snipped by clicking on the “+ New snippet” button. As long as you have a coding set up for this tutorial where you can practice, you are good to go.
Java array- basic information
Arrays are highly used in many programming languages and JavaScript is no exception. And it is for a good reason. But you might be wondering what is an array to start with? Arrays are essentially a collection of related data that can be accessed and manipulated with certain defined methods. Let’s see some examples for an array to have a more complete understanding.
const numbersUntilTen = [1, 2, 3, 4, 5, 6, 7, 8, 9, 10];
const testAnswers = [true, true, false, false, true];
const pets = ["dogs", "cats", "birds", "fishes"];
We can use a java array to store multiple different kinds of data. For example, in the code above we have stored some numbers, booleans as well as string data type.
We can create a java array just like creating other variables, with either const or let keywords on the left side and the contents of the arrays on the right side of the equations. One thing you should be paying attention is that when we are creating arrays we use the square brackets to surround the items, just like we did in the code above. We also separate each item with a comma in between, regardless of their data type.
In this tutorial we will write code in a way that you can copy and paste everything in this tutorial, sequentially, or type everything out, into a JavaScript snippet in Chrome, and it would work as expected given that you follow the order. For example, what this means for you is that, if we are defining a variable with the const keyword once in the tutorial, normally you cannot define another variable with the exact same name again. Thats why if you are going to partially copy and paste some of the code, it is a good idea to make sure that you define those variables on your code as well. This should not be an issue if you are following the tutorial in the order it is presented.
One of the first things you should know about a java array is that, once you create an array, you need to access its elements. Arrays have something called “numbered indexes”, and what this means for you in practice is that every element that you create in JavaScript, there is a number that is associated with it from left to right, from zero to the length of the java array minus one.
For example, in the above code for pets, we can access the first element of “dogs” by writing down the name of the variable, open up square brackets, put in the index of the item we want to access and close the square parenthesis:
alert(pets[0]);
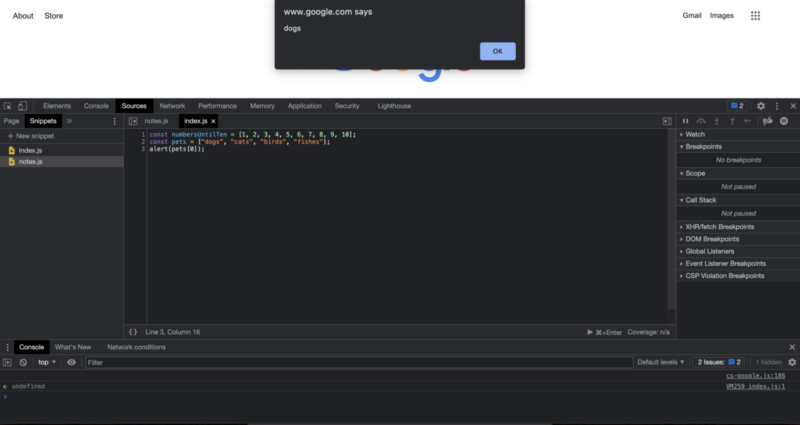
Similarly, putting in higher numbers will trigger displaying other elements in the alert box we are displaying.
alert(pets[1]);
alert(pets[2]);
alert(pets[3]);
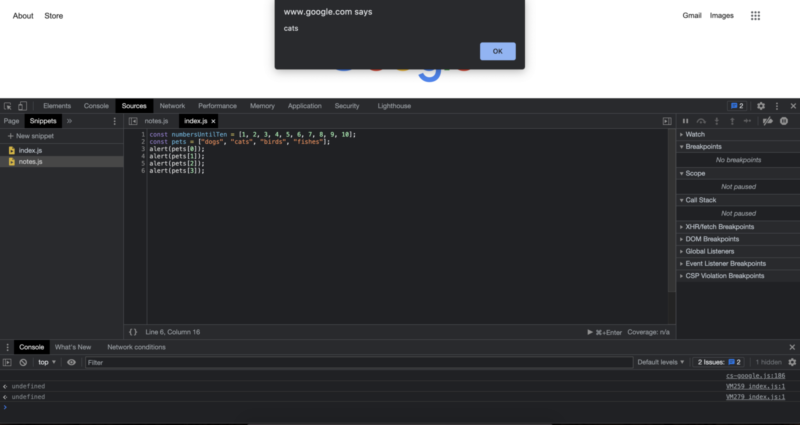
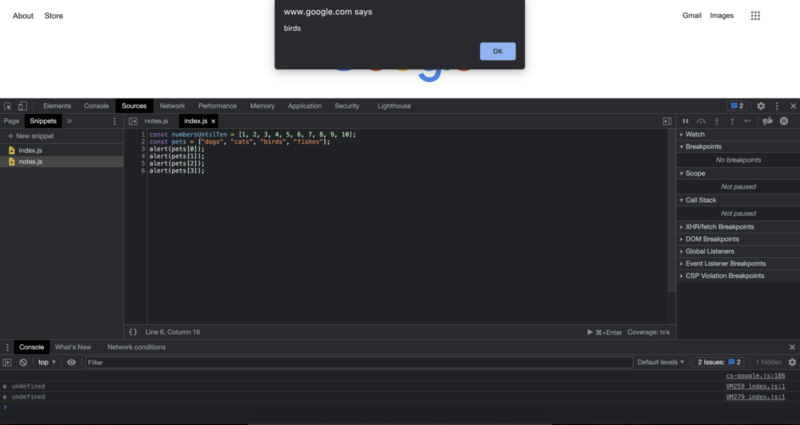
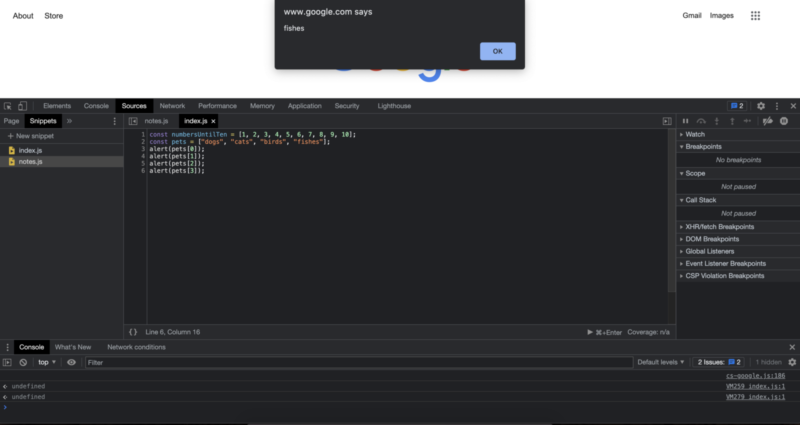
Since we had 4 elements in the pets array, and we started the indexes from 0, the last item in the array is accessed with pets[3], which is 1 less than the total length of the array. At this point you might be wondering, now that we can create an array and access an item from that array, how about making modifications to that array? How about adding new items, changing existing items or deleting items? Well, lets take it step by step and start with adding new items to an array.
Adding items to a java array
There are multiple ways we can add different items to an array. If we know that we want to add the new item to the end of the array, then we can use the “push” method. This is also called pushing a new item into the array. Note that the pushed item will come to the end of the array. For example:
pets.push("snakes");
// lets verify that we have snakes as the last item
// by displaying the array contents
alert(pets);
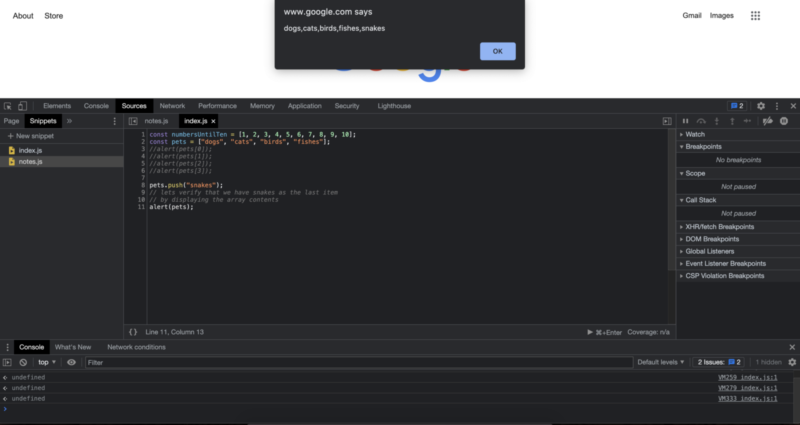
If we know that we specifically want to add an item to the java array as the first element we can use the keyword “unshift”. Lets see that with an example:
//running this code will shift all the values
// to one side and will add the first pet of dragon
pets.unshift(“dragons”);
//lets verify this by displaying the contents of the array
alert(pets);
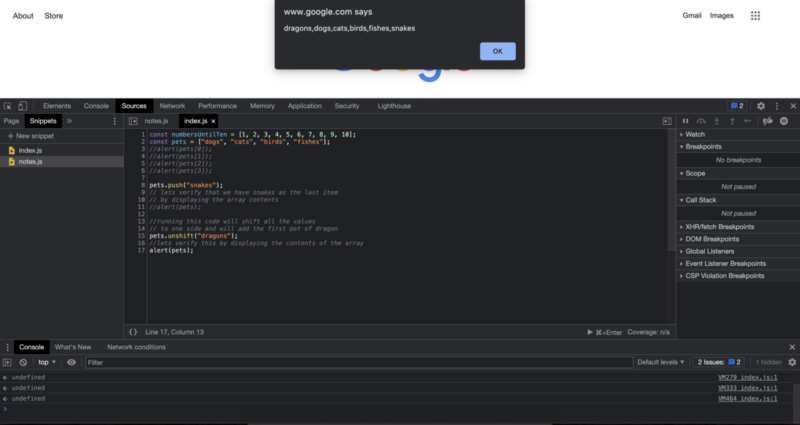
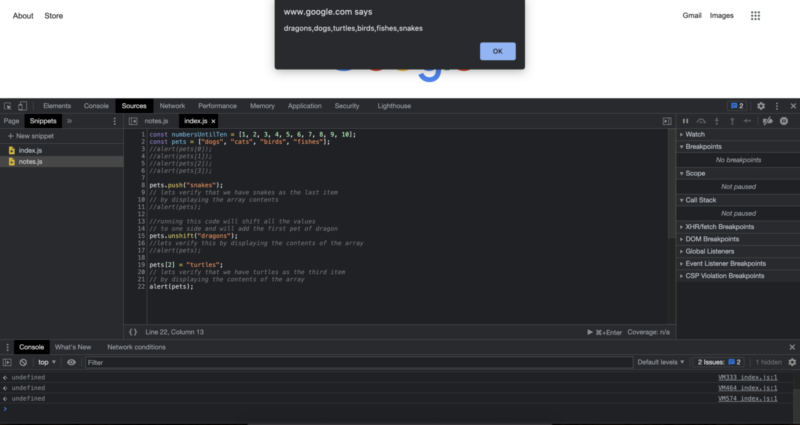
It is great that we can add items to the end of the array or to the beginning of the array, but what if for some reason I want to inject items to the array to specific positions. Let’s say I want to add turtles to the third position. Is that even possible? Yes, it is. In order to inject an item to an array we can define it just like creating that part of the array and assigning a value to the specific part of the array. Also do not forget to use the index values while inserting values. From a practical standpoint it looks like this:
pets[2] = "turtles";
// lets verify that we have turtles as the third item
// by displaying the contents of the array
alert(pets);
Removing items from an array
At this point you might be wondering, how about removing items from an array? Well there are multiple ways for that as well. Probably the most famous one is to use the “pop” method. This will, in a way pop off your last item from an array. // this will remove the last item in the array pets.pop(); // let’s verify the results by displaying the array contents alert(pets);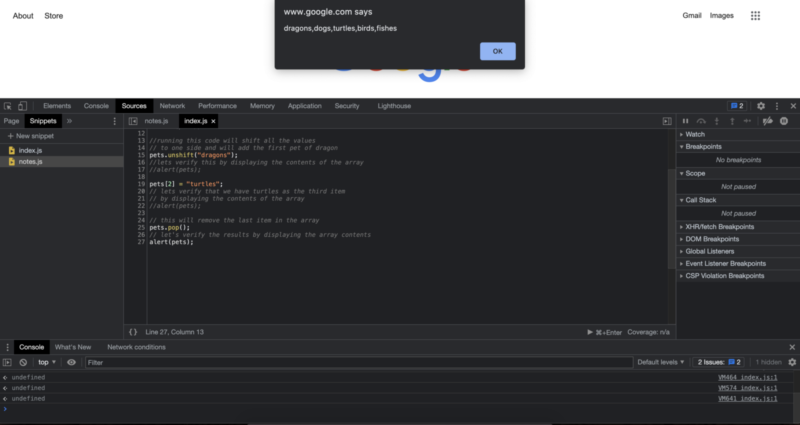
As you can see, with the pop method, we have removed the last pet item of snakes from our pet array.
Another way you can remove items from a java array is to use the “shift” keyword. When we use shift, the first element will be deleted and the rest of the index values will adapt to them. For example:
// this will delete the first item
// and will shift the other items into their new index values
// which will be one lower than the previous index values
pets.shift();
// let's also verify this by displaying the array
alert(pets);
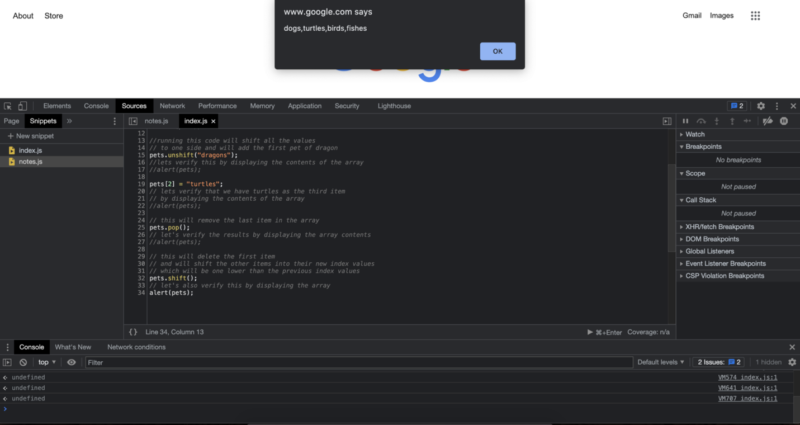
The name “shift” actually comes from how the memory allocation works in computer memory. So if it comes relatively unintuitive at first, thats perfectly fine as well. For now you should know that, using the shift method we can remove the first item from an array.
Finding out length in arrays
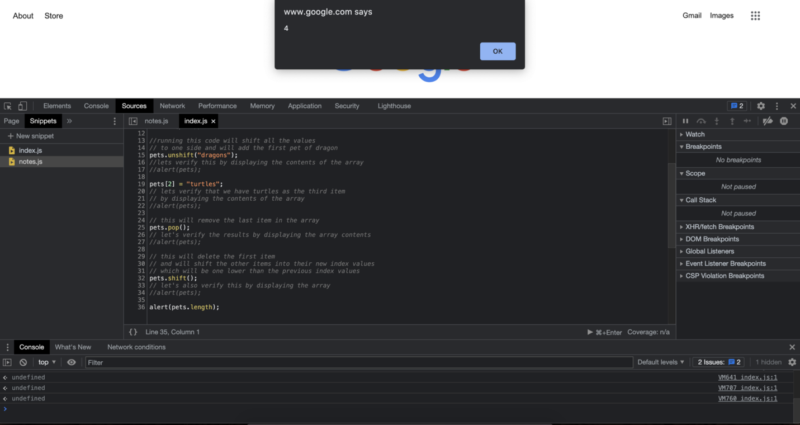
When we are dealing with arrays in real life there can be alot of times where we want to count the number of array items. This can be needed in a variety of places including in to do lists, participant lists at school or work, and so on. To achieve just that, we have an builtin array property called “length” and it will tell us the total length of the array. For example:
alert(pets.length);
Sorting arrays
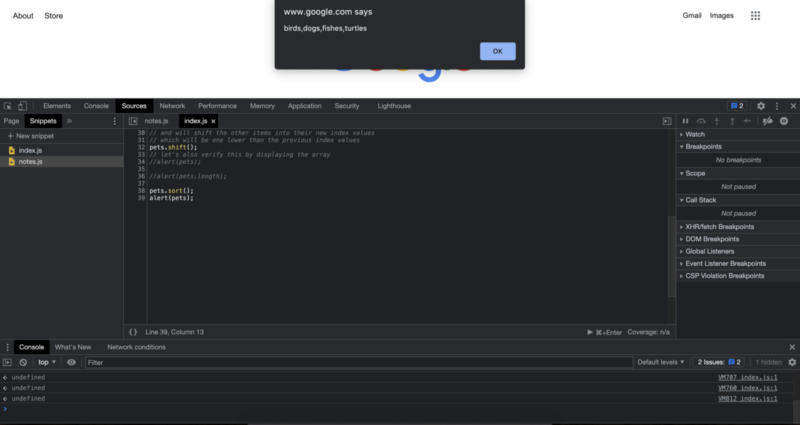
Sorting arrays is a pretty common operation in JavaScript. There are different specific implementations to sorting items in JavaScript. These specific implementations in general are called sorting algorithms. Different sorting algorithms can bring different advantages and disadvantages. For example a sorting algorithm might be chosen over another one because it is simply much easier to implement in code, compared to another one, even though they may show slightly better performance. You may have heard about different sorting algorithms for optimized performance.In this tutorial we will utilize the built in sorting method provided by JavaScript. Sorting is a pretty common problem especially in web development. For example, if you are building an e-commerce website you need to implement different sorting situations for your user to choose from. Although there are no strict rules on what options and capabilities you should provide your audience, there pretty common standards that are expected from you as a website builder. For example, as the user, there is a high chance that you may want to list some store items in both ascending price and descending price. When implementing the sorting for those tasks you should keep in mind how to implement it given that the user can also limit the search results to certain other categories as well, such as t-shirts, hats, bags and so on. We can sort an array by adding “.sort()” to the end of it.
pets.sort();
alert(pets);
Reversing elements in arrays
Reversing an array is probably more common to combine with sorting. In this case, because we are also executing these codes from top to bottom, we are also applying the reversing after sorting the array. We can reverse and array by adding “.reverse()” to the end of it. pets.reverse(); alert(pets);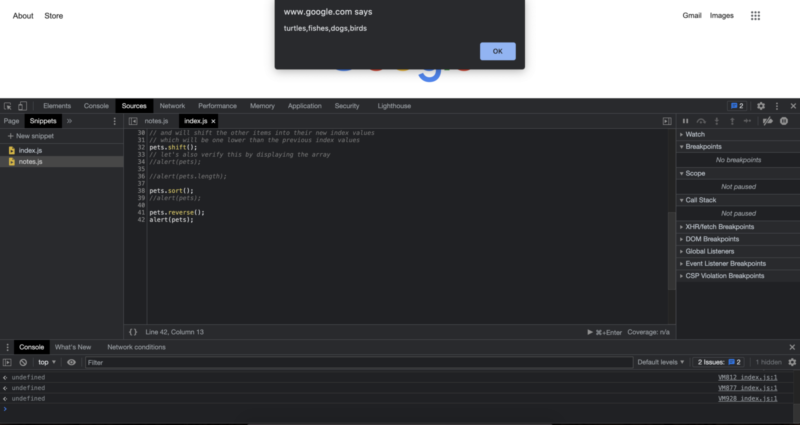
Because we have ordered the array in the previous step, you can see that now we have an array that is both sorted and reversed.
For each
When we are working with arrays, JavaScript provides us a convenient way to loop over the array items with “.forEach()”. If we really want to we can still use a regular for loop to loop over an array. In fact lets first see how to construct a for loop to loop over an array, then we will see using forEach().
// this will alert us 4 times to feed our pet
for (let a = 0; a < pets.length; a++) {
    alert("Time to feed my pet");
}
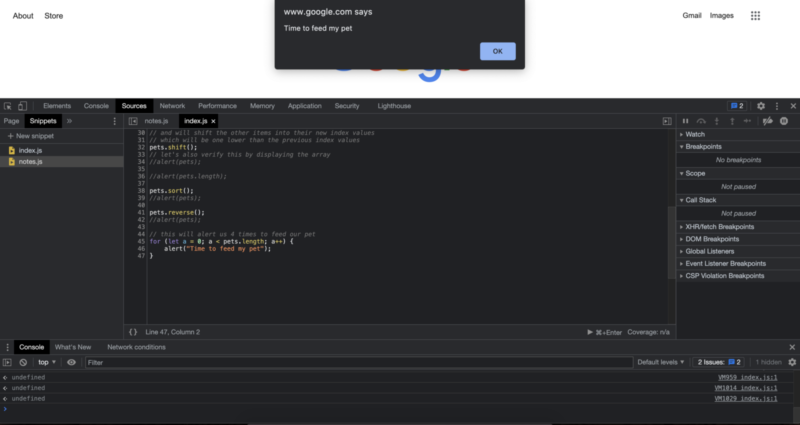
We can also achieve the same result by using forEach.
pets.forEach(alert("Time to feed my pet"));
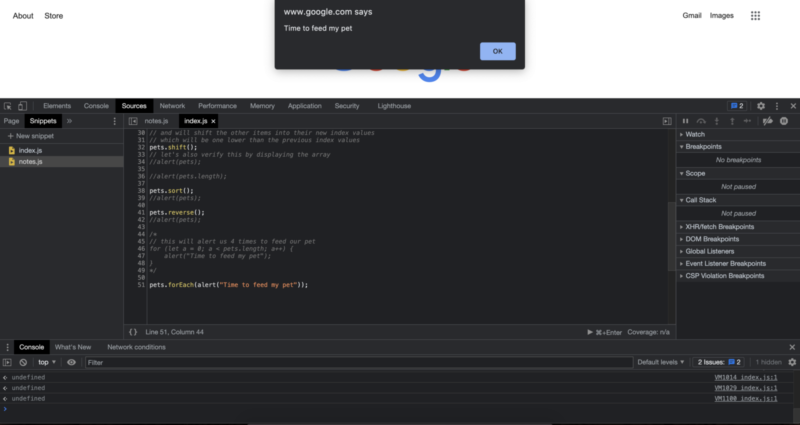
When we compare using for loops or For each, depending on your preferences and your specific situation you may prefer to use one of them over the other. In essence they both achieve the same outputs with different styles in code. ForEach can be relatively easier and save you a line of code to read and write but it will ultimately be your choice. You do not have to make such a choice right now and stick to it either. As you are writing code you can experiment with solving the same problem using different approaches as you are moving in your programming journey.
Includes in arrays
We can also check whether an item exists inside a java array. One example to a real life use of this method would be whether a private event includes a persons name on the invitation list. The actual implementation is pretty straight forward as well. We first write the name of the array, in this case we are working with the pets array. Then we put a dot, to access different array properties and methods, then we write “includes”, then open and close parentheses, and type the name of the item we want to check inside. Here is an example that checks an item we know exists in the array:
alert(pets.includes("dogs"));
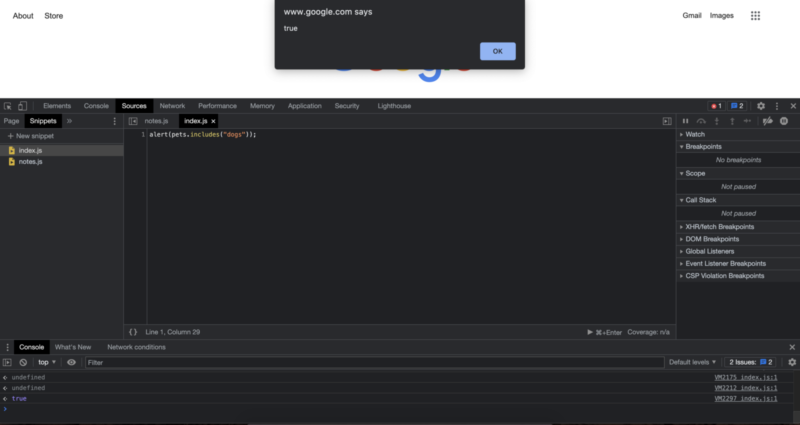
If we also try to same thing with an item we know that does not exists in the java array, we expect to receive false as an answer. Let’s also see that case with an example:
alert(pets.includes("puppy"));
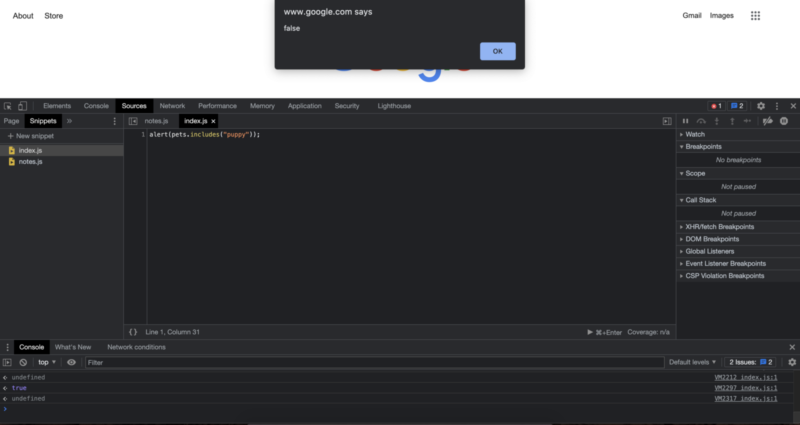
Since we had no puppy in the pets array, we get false as we expected. In the next tutorial we will see another major concept in both the programming world and in JavaScript.
Author: Robert Whitney
JavaScript expert and instructor who coaches IT departments. His main goal is to up-level team productivity by teaching others how to effectively cooperate while coding.
