This is part 5 of the JavaScript blog post series that will take you from beginner to advanced. By the end of this series you will know all the basics you need to know to start coding in JavaScript. Without further ado, let’s get started with the fifth tutorial.
While loops and for loops – table of contents:
This tutorial assumes that you have followed the 4th tutorial in the series, both in terms of the set up and knowledge wise. We will continue with the setup we have in the 4th tutorial, so if you closed it for some reason you can checkout the previous tutorial for the full step by step instructions. As a result we will have our Google Chrome open, and more specifically the snippets part open to write and execute our code. If you have that ready, you are good to go with this tutorial.
Control Structures (continued)
In the previous tutorial we have seen the use of if, else if and else to control the flow of our code. It is great that we now have more control over our code, but if you notice, we can only execute everything once. For example, if you wanted to say “Hello, there!” ten times, you would need to write 10 different lines of code that says the exact same thing. Isn’t there a better way to achieve this? Do you really need to repeat yourself in code that many times? The answer is no, not at all.
As a programmer you want your code to be DRY. DRY here stands for Don’t Repeat Yourself. Yes, you might occasionally repeat some parts of the code if it makes sense at the time, but as a general goal you should aim to have DRY code. This way most of the times you will have cleaner code with less possibility of errors.
In order to not repeat ourselves in code, we will use loops. More specifically “while loops” and “for loops”. Let’s start with while loops and what it is all about.
While loops
While loops follow a simple logic. And it goes as the following:
Execute the given code inside the parenthesis, while the condition is true.
That said we should also be careful with the code we write with while loops, because if the condition never becomes false, that code inside the paranthesis will run forever unless the execution is stopped. Thats why we will want to implement some kind of change that will trigger the why loop to stop. Let’s see that with an example.
let hungry = true;
while (hungry) {
    alert("Eat food");
    hungry = false;
}
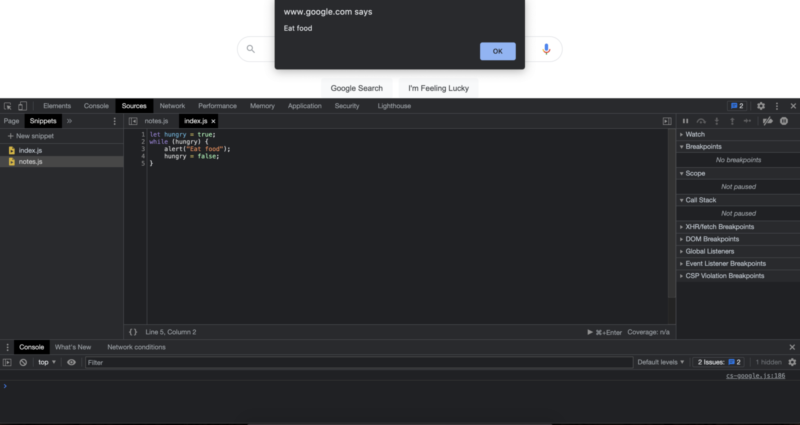
In the example above, we will execute the alert code that tell us to eat only once. This is because at the beginning we set the hungry to true, so we will start executing the code inside the while loop. But while executing the code, one line set the hungry state to false. So after the first execution we now have the hungry state set to false, and in this we know that the while code will not be executed again. Now let’s see another example where the code is executed multiple times.
let targetNumber = 10;
let currentNumber = 0;
while (currentNumber < targetNumber) {
    alert("Hello User!");
    currentNumber++;
}
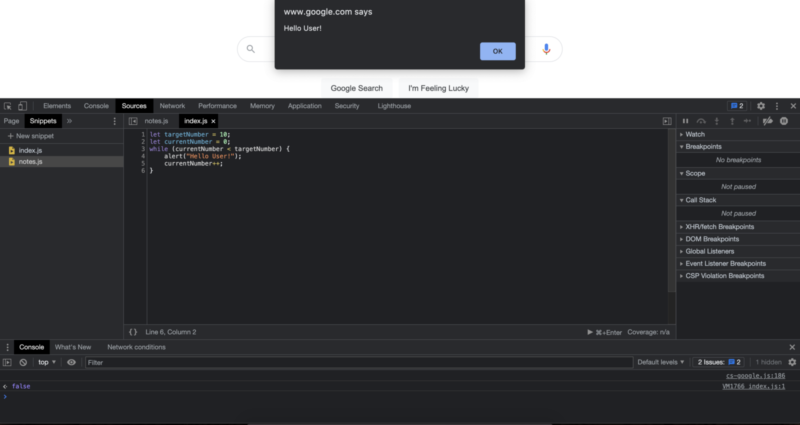
What do you think will happen with this code? Are going to show the user any alerts? If so, how many alerts are we going to show to user?
If you guessed that we will alert the user 10 times in total, then you guessed it right! If not think again and see if you get it this time. What we do in this code is to start with a currentNumber to track how many times have we displayed the alert to the user. Each time we display the alert to the user we will also increment it by one. The ++ symbol if you remember is used to increment a given number by one. At the beginning we have not yet displayed the user any alerts so we start with zero, and we continue until we reach a display number of 10.
One thing you should pay attention here is that because we are checking for a number smaller than 10, the code inside the parenthesis will not be executed when the current number reaches 10, as it no longer satisfies the condition of being smaller than the targetNumber.
Although we increased the number by one at the end of the each loop, there is no rule that says you can only increase it or decrease it inside a while loop. And this is a major advantage of using while loops. They are used in places where you do not necessarily know how may times are you going to run the code. For example, you can create a game and you can keep a player in the game, as long as they don’t loose the game. During this game session the user can gain points or loose points for an indeterminate time period and you can end the game when they go below a certain point such as zero.
Every now and then there might be also times where you want to run the code inside the parenthesis at least once inside a while loop. For example, imagine a scenario where you first have a snack and they decide whether you are hungry or not. You know that you want to eat somethings but you do not necessarily know for long. In cases like these, we can use a flavour of while loop called “do while loops”.
let reallyHungry = false;
do {
    alert("Eat some food.");
} while (reallyHungry);
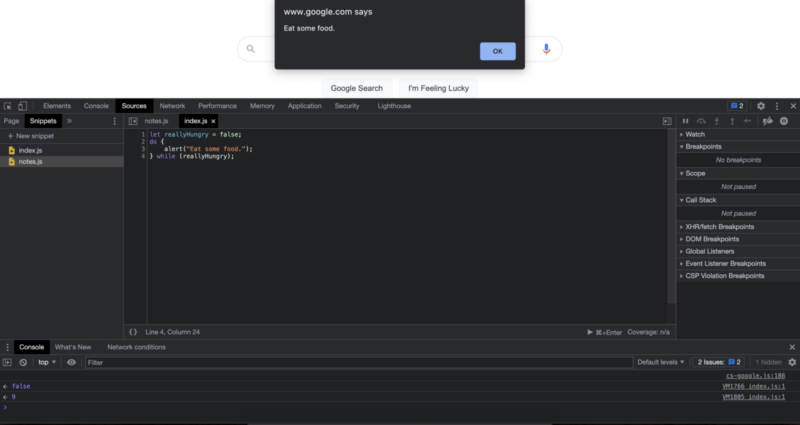
In this case even though we were not really hungry we had some food first, and then decided whether to eat more or not. This is something we can do with the do while loops. Note that because we do not have a mechanism to tell the computer when we are full this code would want to run forever if we turned the reallyHungry into true. Thats why it is still a must to implement some kind of stopping mechanism inside our code block. This can be anything from giving hunger a level so that we can increase it or setting it to “true ” somewhere in our code.
While loop is especially great for conditions where we do not know how many times we have to run our code. But there are a lot of times where we do actually know for exactly how many times we should execute a piece of code. For those times we will generally use “For Loops”.
For loops
For loops are very similar to while loops but they have certain characteristics that make them more preferable in many cases. For loops introduces certain boundaries that you have to set from the beginning and these boundaries can make your code safer to run. With for loops we tell the computer exactly how many times we want to run a piece of code. This way we know that our code will not turn into an infinite loop that wants to run forever.
// greet the user 5 times, or 5 users once!
for (let numberGreeted = 0; numberGreeted < 5; numberGreeted++){
    alert("Hello User!");
}
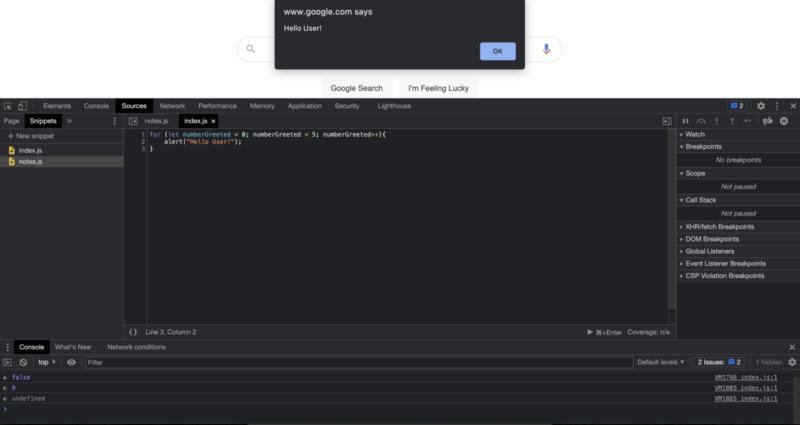
In the code above we greet the user for 5 times. If you take a closer look at for loop, you can see that it is almost a specialized while loop that is more defined and safer to execute. For example, with a while loop we can achieve the exact same output with the following code:
let numberGreeted = 0;
while (numberGreeted < 5) {
    alert("Hello User!");
    numberGreeted++;
}
As you can see, with a for loop we almost carry some parts of the code into inside the parenthesis that defines the for loop conditions. So that we know that the variables we want to use definitely exists, we know that the value we are checking is incremented, and we know that the execution will stop before it reaches the target number.
We have seen that we can start with a number to use inside a for loop and increment it by one. But what if you want to increment it by 5? or what if you actually need to decrement it by one? Could we also achieve those with for loops? Well, yes we can. When defining a for loop, as long as you start with an initial condition and ends with another condition in a controlled way, we have a functioning for loop. For example we can create a count down that starts from 5:
for (let countDown = 5; countDown > 0; countDown--){
    alert(countDown + "!");
}
Note that for decrementing numbers to work we need to start off with the large number in the first place. When we start executing this code, one of the first things that will happen is that we will have a countDown variable created for us, and the value of that variable will be set to number 5. The next step is to check the condition provided regarding the variables. After creating the variable at the initial loop iteration, the iteration rule we place will be applied at the end of every iteration.
In the last example we have set “countDown — ” as the “What will change at the end of every iteration?”. In this case we are decrementing the number one. And before starting each new iteration the condition we set is also checked. The condition we set in the last example was:
“countDown > 0”, which means that this for loop will continue to run the code we provide as long as the countDown variable is greater than 0.
We can also increment the number by more than one, in either positive or negative direction. For example we can start with a small number and increase it a rate we want:
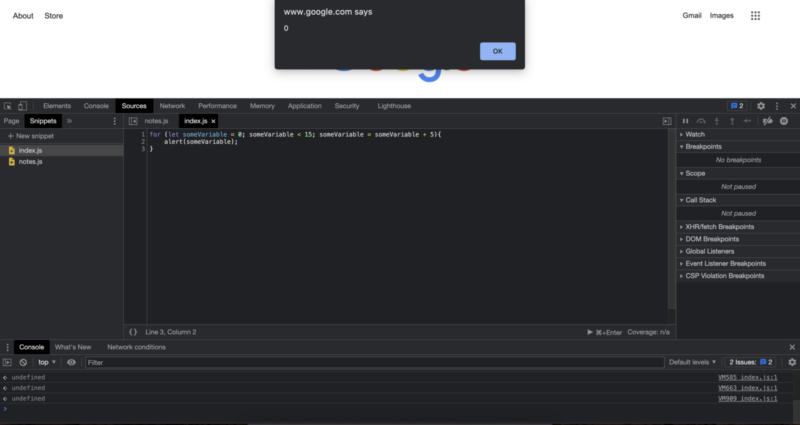
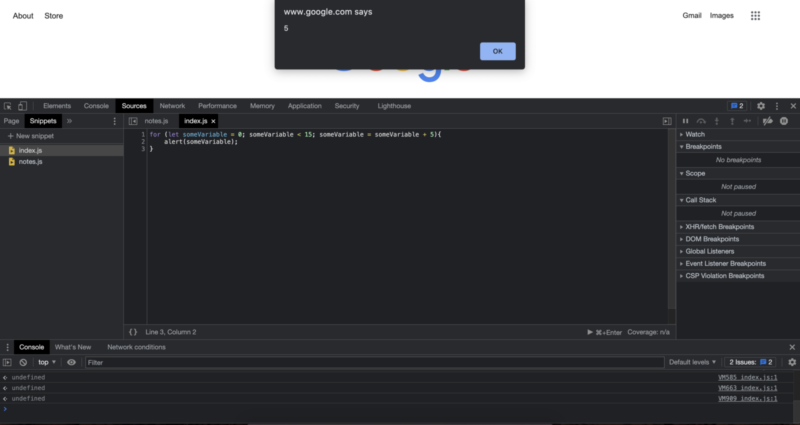
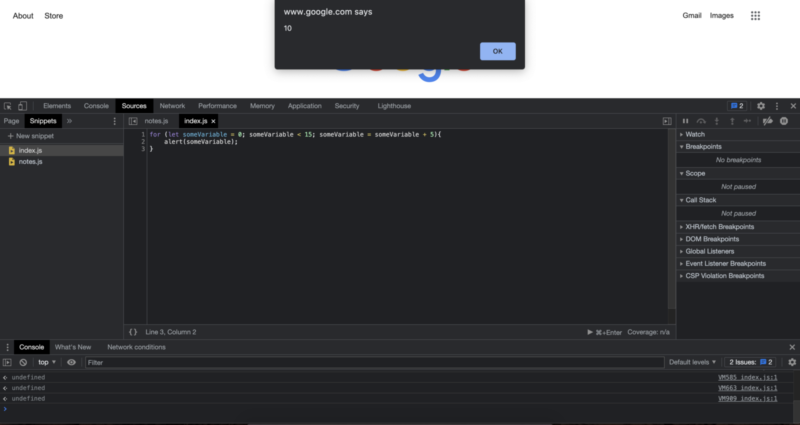
for (let someVariable = 0; someVariable < 15; someVariable = someVariable + 5){
    alert(someVariable);
}
Running this code will result in alerting the user with: 0, 5, and 10.
These are the main characteristics of for loops. You have just seen the two major loop types, namely the while loop and for loop. Both of them are pretty commonly used both in programming in general and in JavaScript. We will use these loops depending on our needs, so it is important to understand the basics of them. If you think you are somewhat comfortable with these topics, in the next tutorial we will see another major concept in JavaScript.
Author: Robert Whitney
JavaScript expert and instructor who coaches IT departments. His main goal is to up-level team productivity by teaching others how to effectively cooperate while coding.
