When all the tasks related to empathizing and defining in design thinking process are finished there is a time for the next important stage in which all the ideas should find their first visible form. Prototyping and testing phases are identified frequently as one stage but they should be performed as two distinctive steps. The prototyping itself is usually inexpensive, time efficient and economical.
Prototyping stage – table of content
- What is prototyping?
- How to prepare yourself before prototyping?
- Tools used at the stage of prototyping
- Advantages of prototyping for design thinking
- Presentation of the prototype
What is prototyping?
This type of activity is seen as thinking with hands. There is not much time needed for this process and one should assume that for some project many prototypes will have to be created. The author of the prototype should not feel any form of emotional attachment to his creation – prototyping is the stage, where changes and improvements are being made constantly. Usually it is difficult at first attempt to fulfill the expectations we have for our prototype, therefore the work on the project must be repeated over and over again.
One must remember to keep up some of the creative resources for further application and not to use them up for one, usually, the very first, prototype. It should be noted that prototypes may be created for any kind of object or feature – both for products and for services.
Prototypes of services should reflect in their design all the possible emotions and feelings prospective user should experience.
Prototypes of products does not have to be fully functional. Mock up or almost-working model are enough to verify their attractiveness for potential user.
How to prepare yourself before prototyping?
Some of the solutions created during the prototyping stage may not be appropriate for our clients, so constant modifications, improvements are necessary to give the team of creators better understanding of user’s needs.
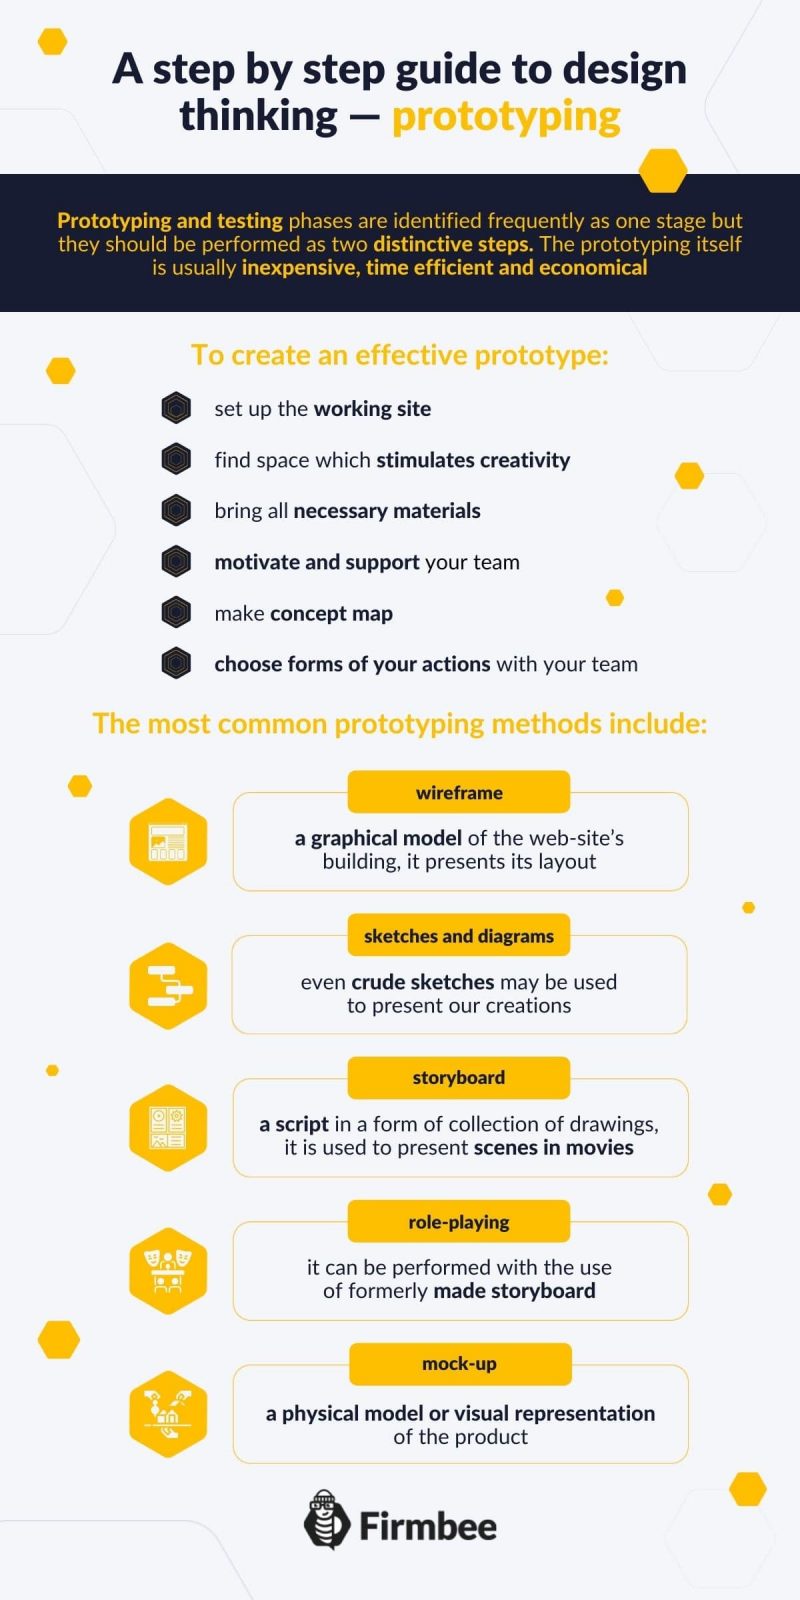
To create effective prototype:
- set up the working site
- find space which stimulates creativity
- bring all necessary materials
- motivation and support your team
- make concept map
- choose forms of your actions with your team
Each stage of the prototype creation may be filmed and photographed for the future reference – the values emerging during the prototyping stage may be kept and later presented to the broader audience when needed.
Tools used at the stage of prototyping
Any materials or resources are acceptable at this stage of prototyping. There are no hard rules for style we choose for our creative design. Despite the above, the most common prototyping methods include:
- wireframe – is a graphical model of the web-site’s building, it presents its layout, the overall structure and relations between all the elements of the interface.
- sketches and diagrams – even crude sketches may be used to present our creations. Simplified technical drawings of our ideas are acceptable as well.
- storyboard – is nothing more than a script in a form of collection of drawings, it is used to present scenes in movies. Drawings are accompanied by notes, subtitles and descriptions for better understanding of the content.
- role-playing – it can be performed with the use of formerly made storyboard. The team of designers explore the scenarios and simulate the experiences, which may be later presented to the potential users. Role-playing may take place in virtual or augmented reality as well.
- mock-up – sometimes called: dummy or maquette. Mock-up is a physical model or visual representation of the product (in case of web designing it may be simplified web-site or application).
There are multiple tools, which can be used for prototyping, hence our designing efforts should be saved (filmed or photographed) for future reference. Careful selection of forms best suited for our project seem to be similarly important.
Advantages of prototyping for design thinking
Every method of prototyping has advantages and disadvantages to take under consideration during the selection of designing tools. Those tools influence strongly all the succeeding actions of the designing team. Additionally, great attention should be paid to advantages and disadvantages of prototyping. Among advantages of prototyping are:
- creation of prototype allows fast, visual presentation of final effect
- prototyping facilitates exchange of information – it helps with assessment and allows to obtain feedback regarding our prototype quickly
- mock-ups give the user a chance to formulate own ideas and suggestions, there is no concern that some of the maquettes have to be discarded after the prototyping stage
- detailed prototypes of particular functionalities of the services help with the modifications of the project, but moreover they boost creativity and bring designers’ attention to new, unexpected features of already devised products. Some of the findings from the prototyping stage may be used to benefit several creative projects.
Presentation of the prototype
Presentation of the prototype should take place shortly after the creation of the design and should be carried out in friendly, trusted environment. The presentation should integrate all important values, which were present during the procedure of creative prototype designing. One should talk directly to the client while the whole process should reflect the formal character of the operation.
If you like our content, join our busy bees community on Facebook and Twitter.
Author: Zofia Lipska
With over 10 years of experience in digital marketing, Sophia not only knows the rules of this industry but above all knows how to break them in order to achieve outstanding and creative results.
