Testing is a decisive stage in everyone’s life. Daily, we are not aware of it or we do not pay much attention to it, but each of us is a tester. We judge and evaluate all novel or past goods and services from food, cosmetics, cars, goods to software, apps and services. In this article, we will explore the testing stage specifically in the context of Design Thinking methodology, outline its stages and provide feedback and recap at the end. Let’s begin then.
Testing stage – table of contents:
- Testing stage – what does it consist of?
- What does the testing stage look like?
- MOSCOW – an innovative project management prioritizing method
- Summary
Testing stage – what does it consist of?
In previous articles, we have already discussed all the stages of design thinking. The time has come for the final one, testing. Once our team has the necessary information and knows what needs to be improved or changed in our product, it’s time to plan the implementation.
It is the most formal one, the most attention should be paid to it in working out all the details. First – we need to improve on the product so that it meets the expectations of our users. Of course, not all suggestions will be taken into account when making changes.
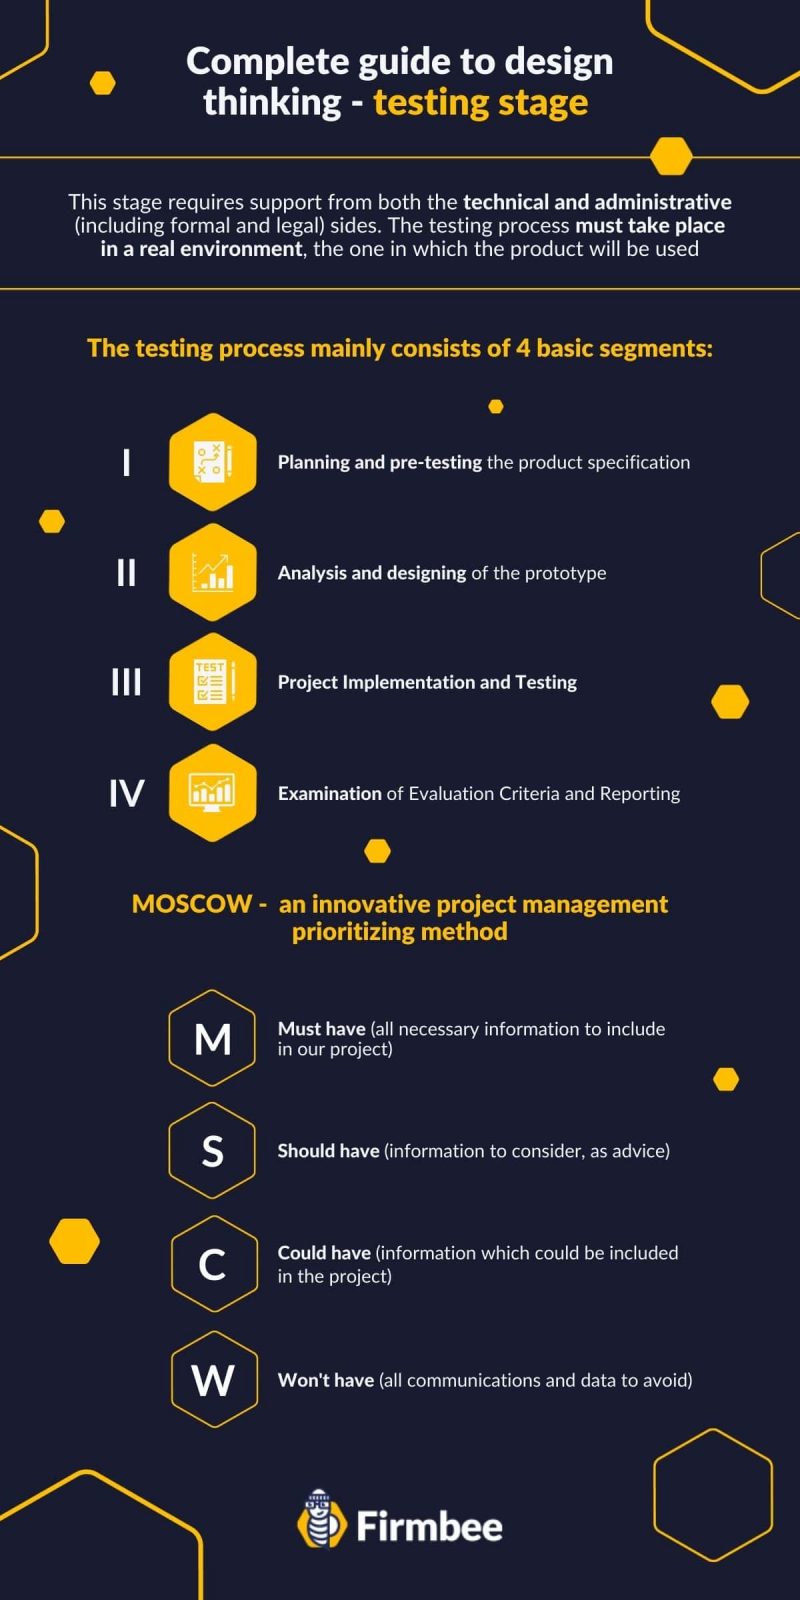
This stage requires support from both the technical and administrative (including formal and legal) sides. The testing process must take place in a real environment, the one in which the product will be used. After completing this stage and receiving positive feedback we can determine that the product is ready for final implementation.

What does the testing stage look like?
The purpose of the testing stage is to find out how necessary and useful a product or service is for a potential user. It is an attempt to evaluate the product, but it is also important to prepare well for it. The testing process mainly consists of 4 basic segments:
- Planning and pre-testing the product specification – the anchor point from which we start the whole testing process. As with the whole methodology, it is significant to create a plan and stick to the rules of conduct defined in it. In this stage we deal with setting goals, defining necessary actions that will be needed to create the target project.
- Analysis and designing of the prototype – at this stage the most essential thing is to test the product in a properly adjusted environment. During the analysis, you have to consider everything related to the whole test, requirements, integrity level and report analysis. Also, remember to prioritize, especially if the project is at a high level, and of course design it.
- Project Implementation and Testing – here, we first need to determine our priorities and the implement our test product. Gather and select the data to use during testing. When all the necessary information gets collected, move on to the practical application of the test on our prototype. At the end of the test, provide a report and feedback.
- Examination of Evaluation Criteria and Reporting – Once the entire test is complete, evaluate the success of initially established goals. Also, consider whether to repeat the testing procedure or conduct a new one. Once you pick and finish, put down the feedback, actions taken results.
The last step is to check the functionalities of the created prototype. The customer will make a final call. At the end of the testing phase, gather all information, communications, documents and tools and transfer all to the service team.
MOSCOW – an innovative project management prioritizing method
One of the most well-known approaches of tackling the testing stage of DT is MoSCoW. This prioritization technique has proven successful not only in project management but also in software delivery or analytics. Its main goal is to find a common ground and establish a basic framework of communication and data concerning the product or service between the parties involved, the project team and the contractor.
MoSCoW is an acronym in which the capital letters refer to scope of information included:
M – must have (all necessary information to include in our project)
S – should have (information to consider, as advice)
C – could have (information which could be included in the project)
W – won’t have (all communications and data to avoid)
The letter “o” is a hyphen to make the word easier to pronounce. This clear formula enables your team to establish the successes, features, implementations, additions and adjustments. To schedule the implementation phase well, determine the scope of responsibilities and delegate it further to departments. Select the right tools and meet all the requirements to conduct research. Also, analyze each need to plan beforehand.
Summary
The testing stage will look differently in every company but will be similarly important as all businesses aim at profit. Remember that during this stage of design thinking, limit time of all activities to enable the implementation of a new product as soon as possible.
If you like our content, join our busy bees community on Facebook and Twitter.
Author: Zofia Lipska
With over 10 years of experience in digital marketing, Sophia not only knows the rules of this industry but above all knows how to break them in order to achieve outstanding and creative results.


