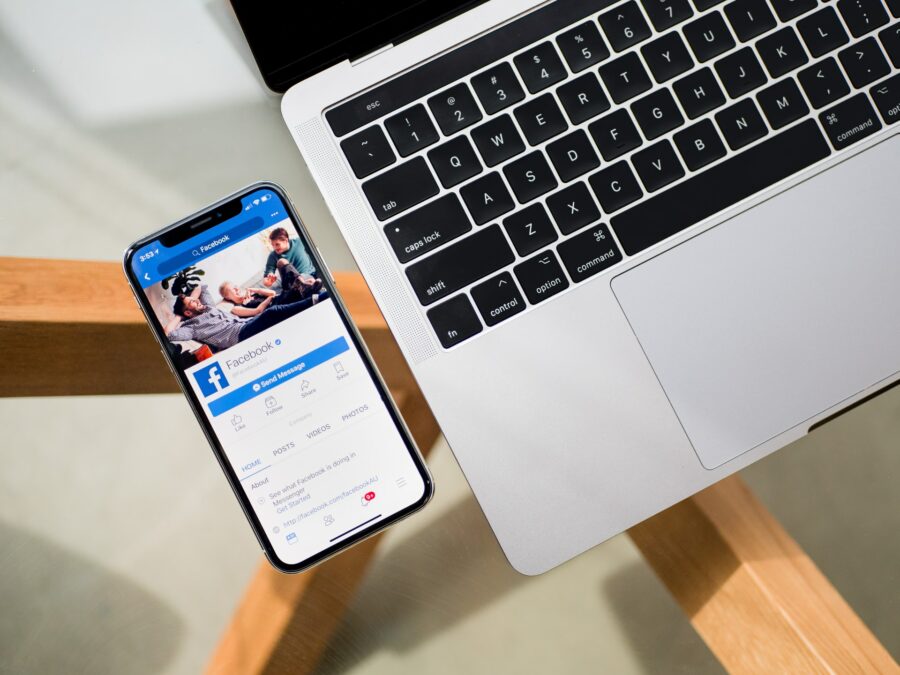
Facebook is one of the most popular social media platforms in the modern digital sphere. Most of business owners wonder how to create a Facebook Business Page. Why? Because whether you are a small, medium, or a large business, creating a Facebook page can improve your online visibility and drive sales.Here is an easy step by step guide that will help you create a killer Facebook business page.
How to Create a Facebook Business Page in 9 Easy Steps
Step 1: Create a Facebook Account
If you do not already have a Facebook account, the first thing you need to do is to sign up on Facebook and add your business details on the form.
Step 2: Create a Business Page
Once you have created an account, go to link https://www.facebook.com/pages/creation/ to create a business page.
- From the options, choose “Business or brand”
- Fill in the basic information about your brand such as page name, about, category, description and address.
- Once finished, click “Create”

Step 3: Add a Profile Picture and Cover Photo
Here comes the interesting part —the face of your business. Choose a profile picture and cover photo that represents your brand. Most brands use a logo for profile picture which is perfectly fine. If you do not have a logo yet, you can hire a professional or use some of the logo creation tools available online.
The recommended size of a profile photo is 170×170 pixels. If you upload a photo that is too big or too small in size, may get an error.
Cover photos are a great opportunity to visually position your brand’s vision and purpose. Facebook cover photo’s ideal size is 820×312 pixels so design your picture within these dimensions.
To add a profile picture and cover photo, click on the camera icon on each, and select the pictures from your computer.
Step 4: Edit Page Info
On your page, the bottom left panel is where most of the settings are located. You will be frequently using this portion to make common changes.
To edit your page info, click on the “Edit Page Info” section. Here you can fill information for:
- Page name and username
- Business categories
- Your contact information
- Business location
- Business hours
- QR code
- Price Range of your products or services
Step 5: Check Your Page Settings
It is always a good idea to check your default settings and make any changes that are more aligned with your business objectives. Go to the left menu bar and scroll to the bottom. Click on “Settings.” Here you will find a number of page settings that you can tweak.
- General – Under this tab, you will find general page related settings such as page visibility, messaging, country restrictions, profanity filter, post sharing, translation, etc.
- Payments – Select your payment currency
- Notifications – Change your page notification settings to allow or disallow certain notifications
Some of the other settings on the menu bar are discussed below.
Step 6: Choose a Template for Your Page
Facebook lists a variety of templates to reflect your business’ nature. For instance, if you are a non-profit, you can choose a “Nonprofit” option. If you are a food business,“Restaurants & Cafe” template will be ideal for you.
You can find this option in the left menu tab under settings. Go to “Templates and Tabs.”
Under templates, you will also find “Tabs” settings. Here you can drag tab names to rearrange them in an order you feel is more aligned with your brand. For example, if you do not deal with “Events,” you can move the section down and bring a section such as “Services” up that you think may serve better for your brand’s marketing.
Step 7: Assign Page Roles
Under settings, click on “Page Roles” to assign admins, editors, moderators, advertisers and analysts. You can restrict access to your page by assigning these roles. This ensures that people who are not relevant to certain tasks, are not allowed access. Admin role is usually the highest role and it allows you to make all major changes.
Step 8: Add a Button
This is a button some businesses may tend to ignore, however, it can prove to be very beneficial for your business. On the right side, under your cover photo, you will see a blue box called “Add a Button.” This feature allows you to display an “action” item that your visitors can perform to engage with your brand.
Some of the options you will find under this feature include:
- Follow
- Start Order
- Book Now
- Call Now
- Get Quote
- Send Message
- Send Email
- Sign Up
Step 9: Start Publishing Posts
The purpose of a business page is to create posts that can reach your audience. Your first post can be a welcome post or “coming soon” post. Once you are all set and ready to go, you can start adding content. Make sure to create unique and fresh content everyday that’s relevant to your audience.
And that’s it! Now you knohow to create a Facebook business page. There are a plethora of other things you can explore on your page to utilize all the options Facebook offers, such as “Advertisements.” Many businesses utilize this option to sponsor their page or specific posts. You can read about it here: A few tips for creating effective Facebook ads. However, this is a topic for a later time. Enjoy your page and stay active!
Join our Facebook community to stay in touch!
Author: Laura Green
There’s probably no social media channel or tactic that Laura doesn’t feel confident about. Whether it’s jumping on the latest TikTok trend, launching a Pinterest campaign, or live-streaming on YouTube - this Social Media Ninja has done it all.
