Any user who plans to start selling products on Amazon needs to create an account at the beginning. The following article is a tutorial, prepared for those who are looking for step-by-step guidance on how to handle setting up an account on Amazon.
Amazon Seller Account – table of contents:
Choosing your own sales plan
Amazon has made an offer of two sales plans:
- individual
- professional.
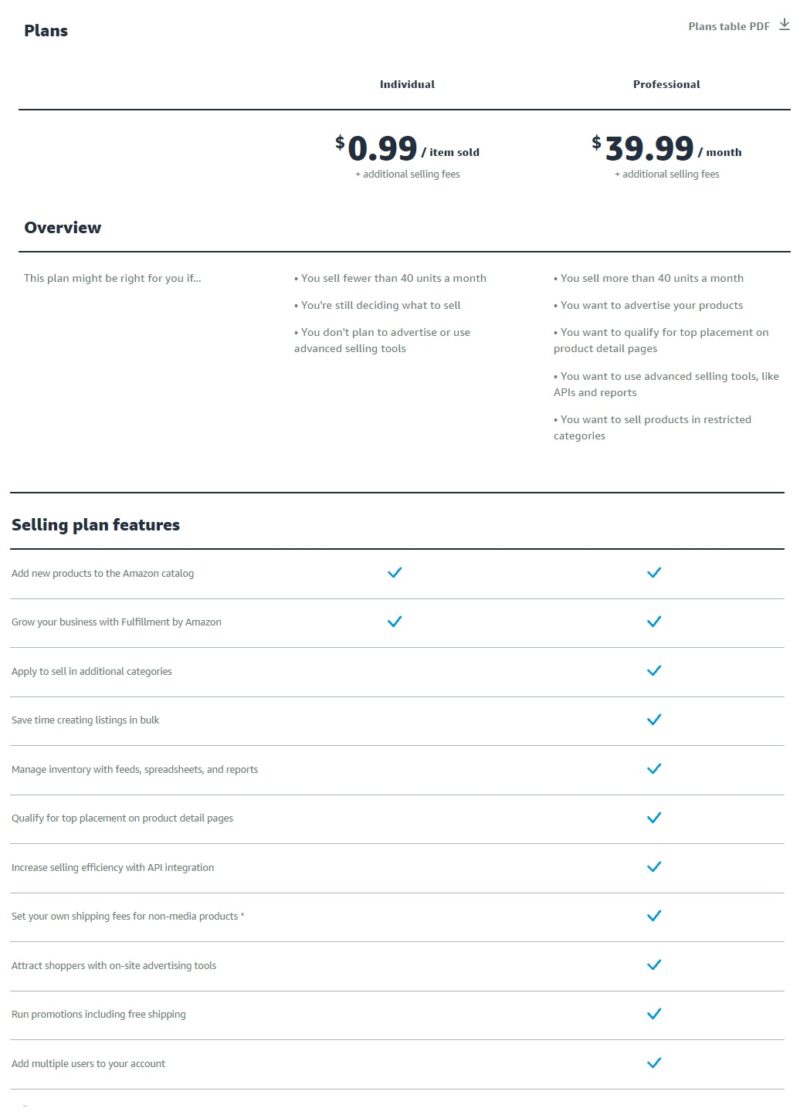
Choosing the former is suitable for those selling less than 40 items per month. However, if the seller knows that they will be exceeding this limit, the professional plan is a better choice for them. It is also worth noting that it is possible to change the chosen plan at any time.
Each of the offered plans includes certain benefits, obviously there are more when picking the professional option. By definition, the individual version is designed for people who do not have a specific assortment and do not plan to advertise. The professional plan is more extensive and offers access to advanced tools that help you sell tyere. The image below shows the benefits of each plan and what costs are associated with them.
Amazon seller account registration
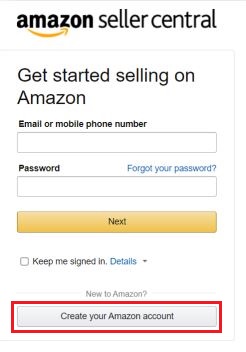
Creating an account on Amazon is possible at the link provided in Account Registration. The user proceeds to a new tab, where there is a window like the one in the image below. To continue to the registration stage, the user has to click on the button marked in red, “Create Amazon account“.
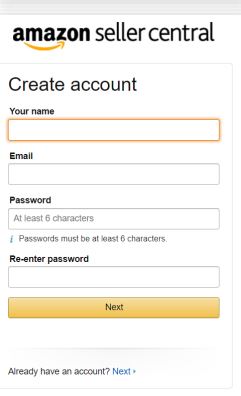
After pressing the “Create Amazon Account” button, a new window pops up where you need to enter: Username, email address and password. If you already have an account as a consumer, you will need to use a different email address. It is still worth remembering that a seller can only have one account.
- Business data and vendor data
- via an automated call from Amazon – select your carrier country, enter your phone number and choose your language. Depending on your preference, you can select either an SMS message (“Text me Now” button) or a call (“Call me Now” button), or
- via a message containing a 6-digit PIN code.
- the company belongs to him/her,
- he or she controls the company directly or indirectly (e.g. owns 25% of the shares or votes),
- otherwise has control over the management of the company.
- Specifying the payment method
- Naming a store
- Additional information
In the next step, it is necessary to fill in the company and contact information. At the beginning, you have to choose the country where the business activity is carried out and the name of the company. If the name is too long, you can enter an abbreviation, e.g. “Ltd.” instead of “limited liability company”.
In case of sole proprietorship, you need to enter tcountry of residence and full name of the entity. It’s also a good idea to review Amazon’s available policies and contracts at this stage. When everything in this step is completed, press the “Agree and continue” button.
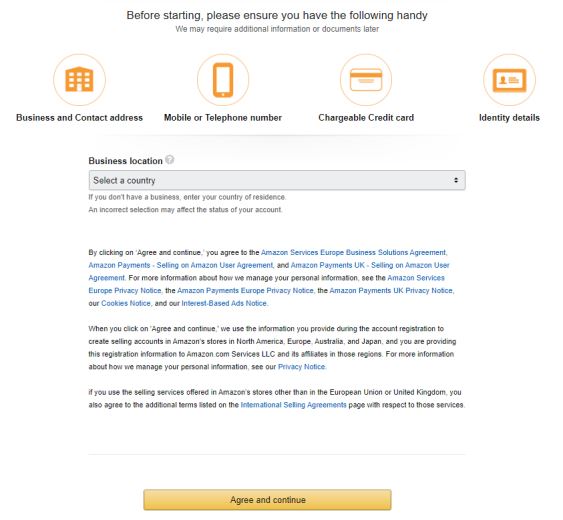
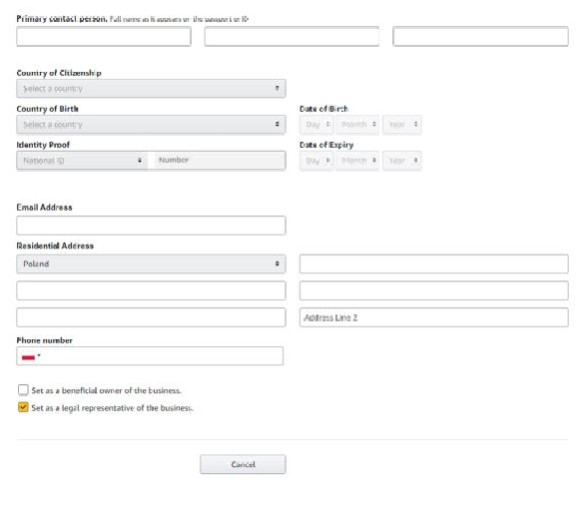
Pressing the “Agree and Continue” button, takes the user to a five-step form. The first window requires entering company information such as company registration number, registered business address, phone number for verification, and primary contact person information. This step is skipped by those who operate a sole proprietorship.
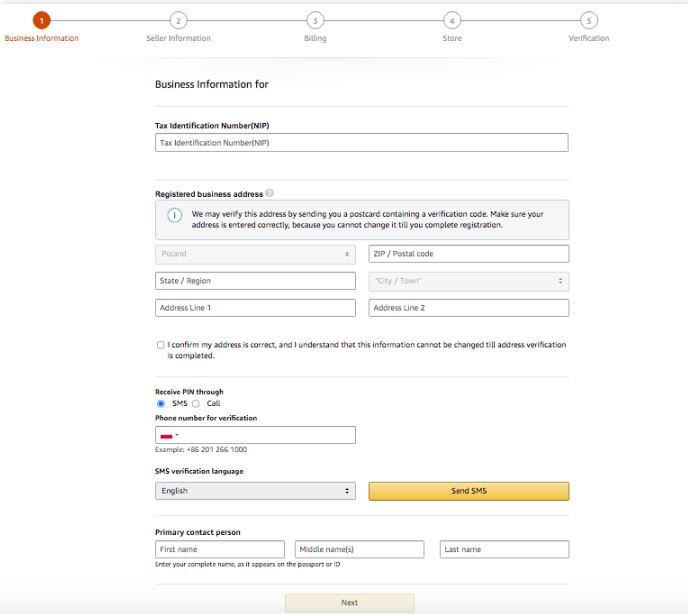
Verification of the phone number provided has two pathways:
This verification will help you determine whether the “Primary Contact” is also the owner (beneficiary) of the company or its legal representative.
According to Amazon, a beneficial owner is an individual who meets any of the following conditions:
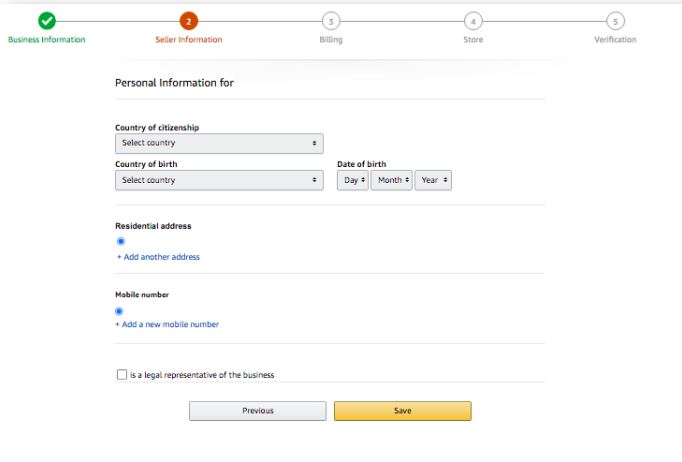
The next step is vendor information, where you need to provide information about the owner of the vendor account. In case the “Primary Contact” is not also that owner, you need to provide information about each business owner.
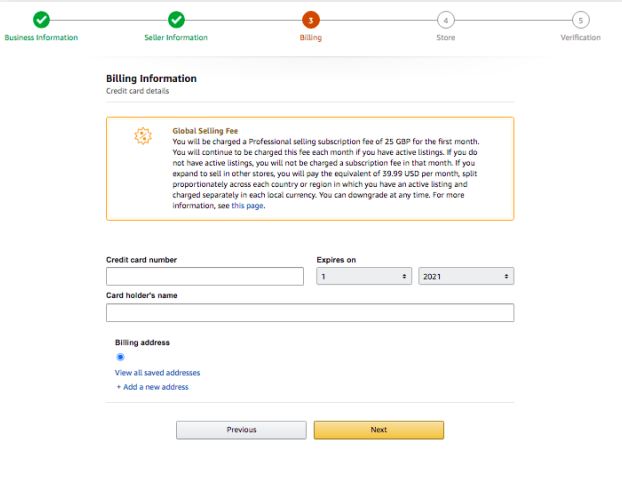
In this window, the user needs to enter their valid credit card information, which Amazon will then verify in order to charge the subscription fee from it.
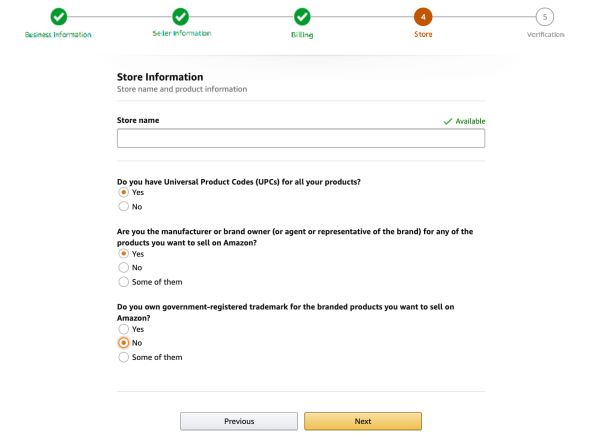
The next step is to give your store an appropriate name to display to Amazon customers. It does not have to be the same as your company name. However, if the name you entered is already taken, you will need to enter another name.
Selling in the EU comes with all the requirements, so Amazon may ask you to give additional information, such as proof of identity, bank statements (proving you are the owner of a designated bank account), or a business license.
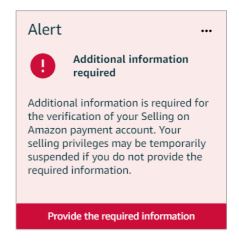
If you are still missing any information after completing the registration, you will see a message that will not disappear until the missing information has been filled in. To do this, press the button located on the “Enter required data” window or take another route via “Settings” → “Account Info“, where the section that needs to be filled in will be highlighted in red.
Configure your account settings
After successful account registration, the user gains access to the Sales Panel. With these permissions, it is possible to manage your account data. To do this, click “Settings” located in the upper right corner, and then go to “Account information“, where you can find data such as: sales plan, bank account, etc.

- Bank account
- VAT number
- Change of sales plan
Add bank account details at the registration stage, but if you skipped this step, you will need to complete it. It is worth remembering that Amazon only settles accounts using electronic transfers, which means that they do not accept credit card settlements or online payments (e.g. PayPal).
The billing cycle lasts for 14 days, and each time it expires, an amount of money will be credited to the designated account, derived from the turnover generated, minus the sales commission and subscription fee beforehand. If the balance turns out to be negative, then the credit card will be debited.
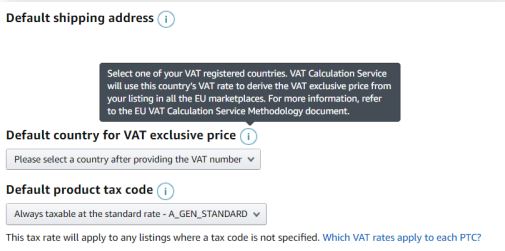
VAT payers must remember to configure their tax settings. They can do this by going to “Settings” → “Account Information“. There, at the bottom of the page, there is a section for taxes, where you will find the “VAT/GST Number” button. The free automatic order invoicing option is available to VAT payers and covers all European Amazon sites. To take advantage of this option, you will need to configure the service by completing the information found on the “VAT Calculation Service Settings” page.
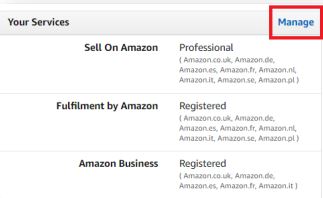
As we mentioned earlier, it is possible to change the sales plan at any time. To do this, go to “Settings” → “Account information” → “Account Information” and find at the very bottom, on the left side, the “Your Services” section. By clicking the “Manage” button, you will be able to change your sales plan.
The above article provides information on setting up a seller account on Amazon. Once you have successfully registered, you should proceed to the next step, which is adding a product. We covered that issue in our next article.
Read also: E-commerce. How COVID-19 is changing the habits of e-consumers
If you like our content, join our busy bees community on Facebook and Twitter!
Author: Martin Sparks
E-commerce enthusiasts which constantly digs around the internet in order to make sure he hasn’t missed any important information on the topic of starting and scaling profitable online stores.

